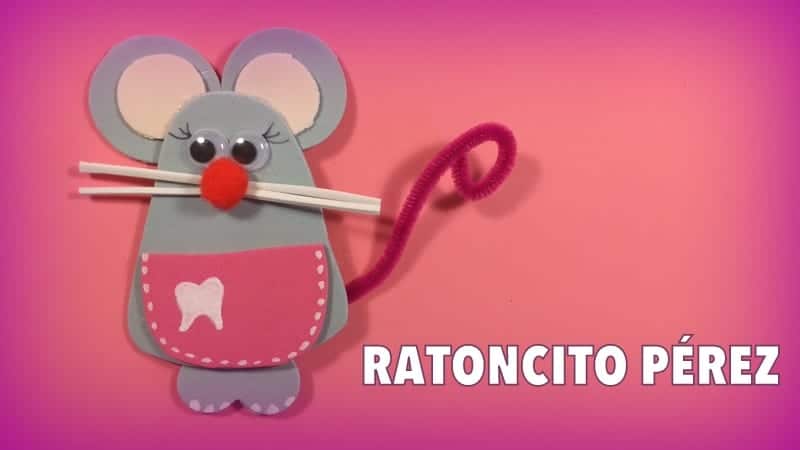
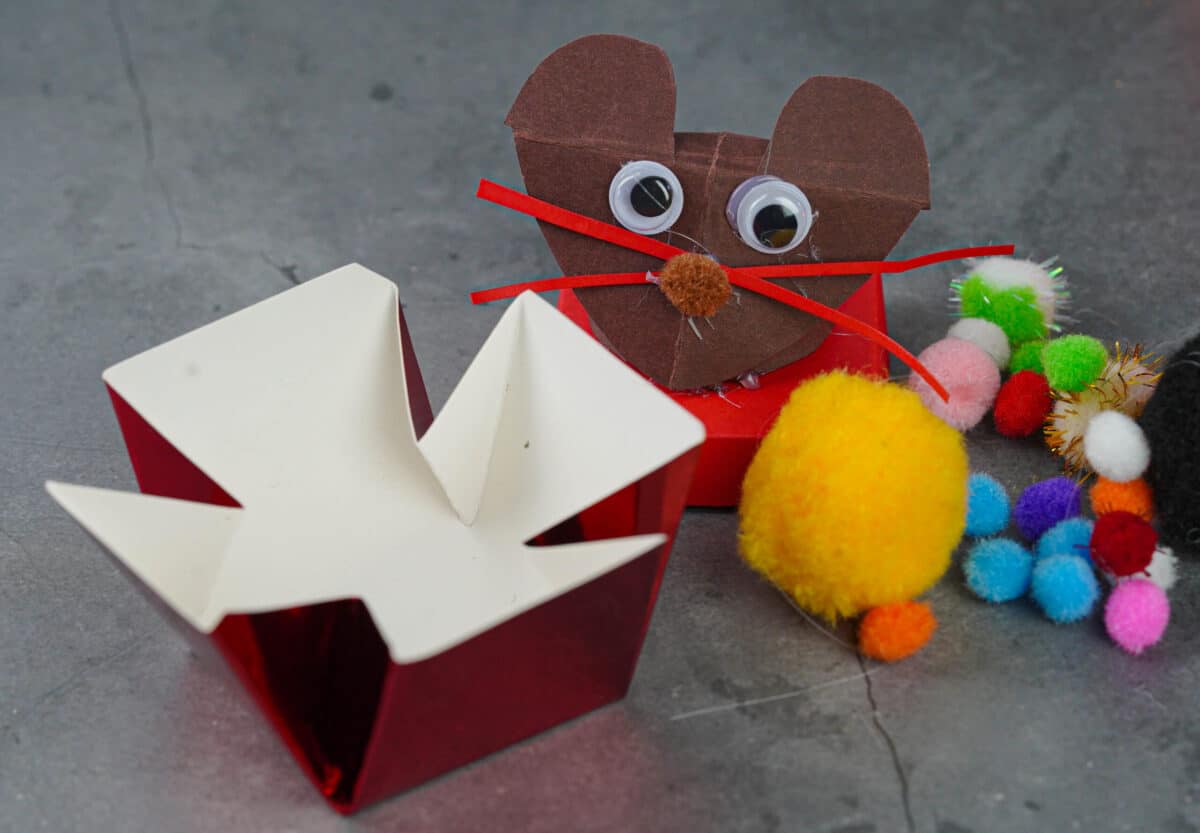
This is a nice box for kids to have fun with. Now they can keep your teeth inside the box to be picked up by the Tooth Fairy.
If you have craft skills, this box is easy to make, without using glue to form it. Then we will do the mouse structure and we will stick it on the cover.
You have this craft in a demonstrative video so you don't lose details of how to do it. You can too vary colors to customize it to your liking. Enjoy the box!
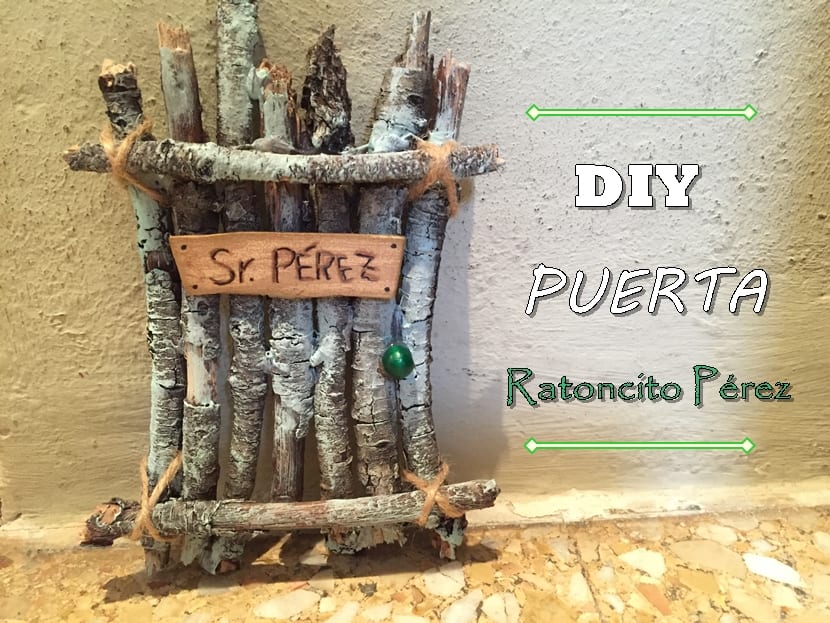
We have these three ideas that you will like:
The materials that have been used for the Ratoncito Pérez box:
- Red silver cardboard.
- Red cardboard.
- Brown cardboard.
- 2 decorative eyes for crafts.
- 1 small brown pompom.
- 1 measure.
- Pencil.
- Scissors.
- Hot glue or silicone with your gun.
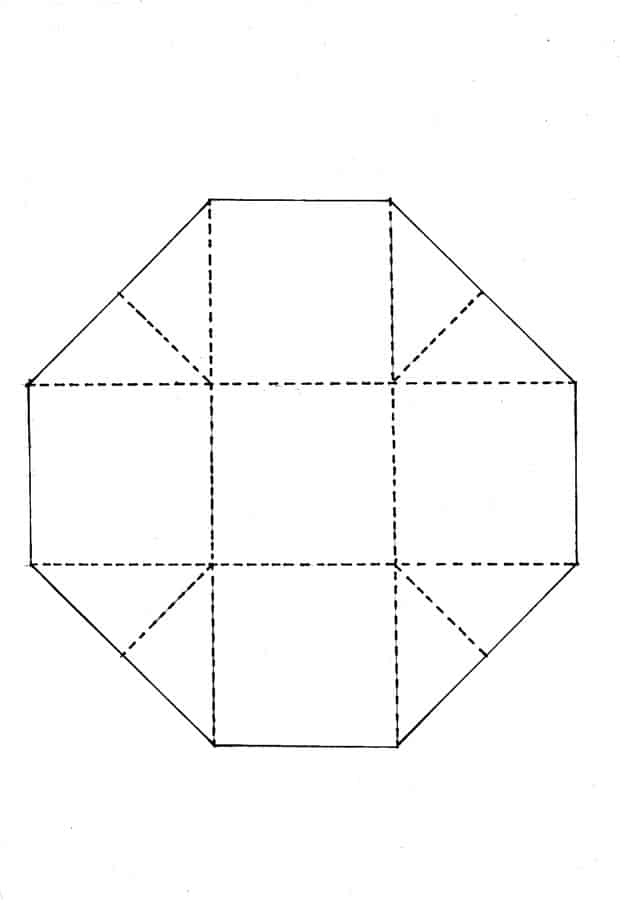
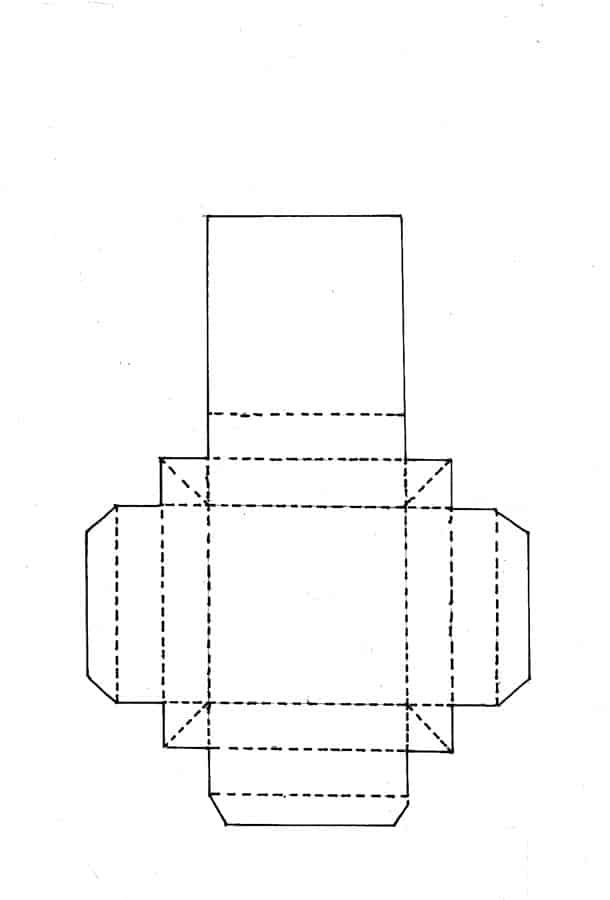
- Templates to make the box. We have the templates below. Or you can print at the following links: base box. Front.
You can see this manual step by step in the following video:
First step:
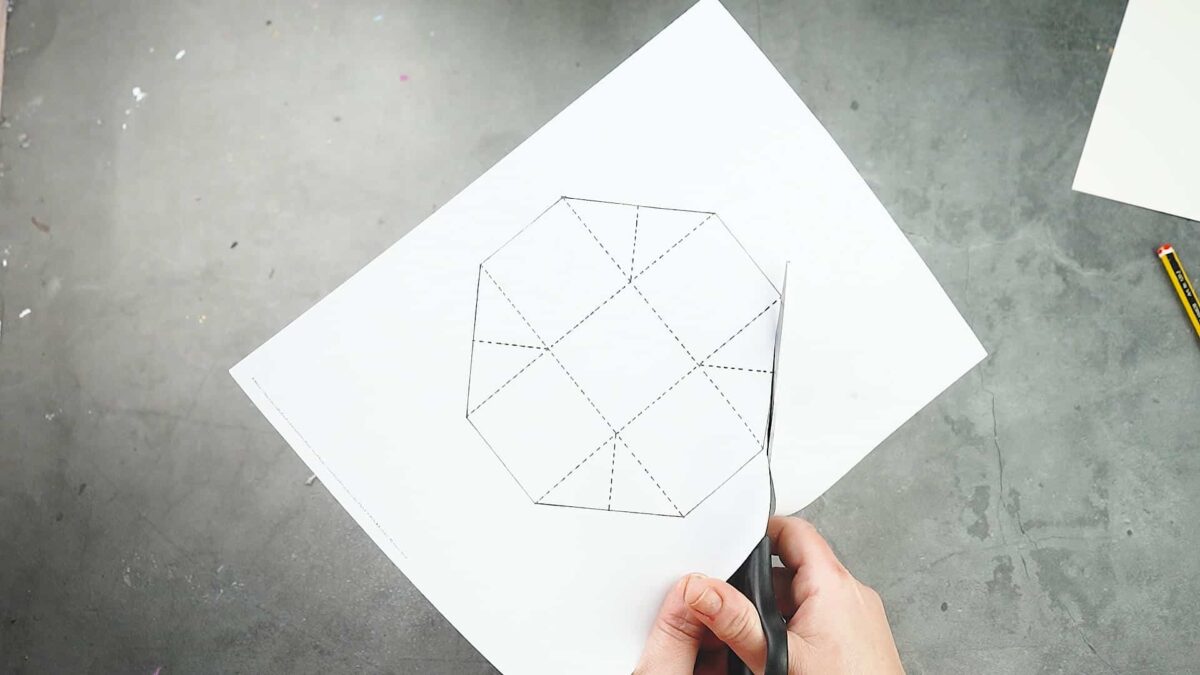
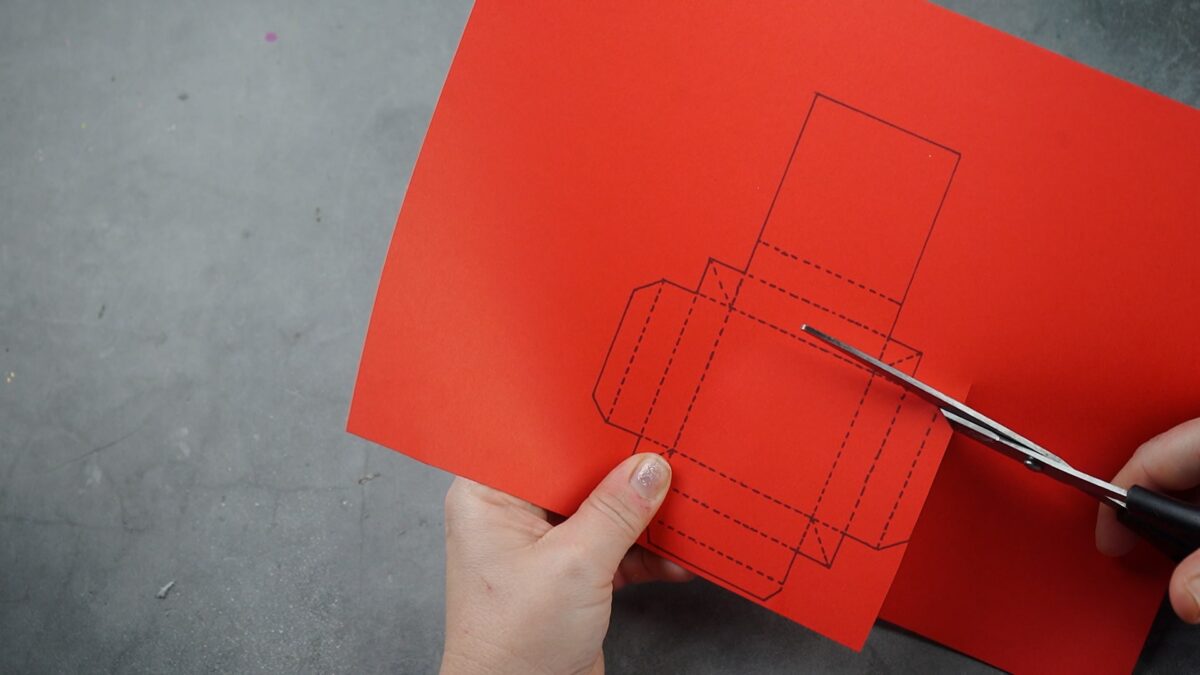
Act quickly. print the box base template, we do it on the back of the red silver cardboard. Then we cut it out.
If the printer cannot take the cardboard when printing, we can do it on a white sheet of paper. Then we cut it out.
Second step:
We place the template cut out on the underside of red silver cardboard. We draw the border and now we cut out the silver cardboard.
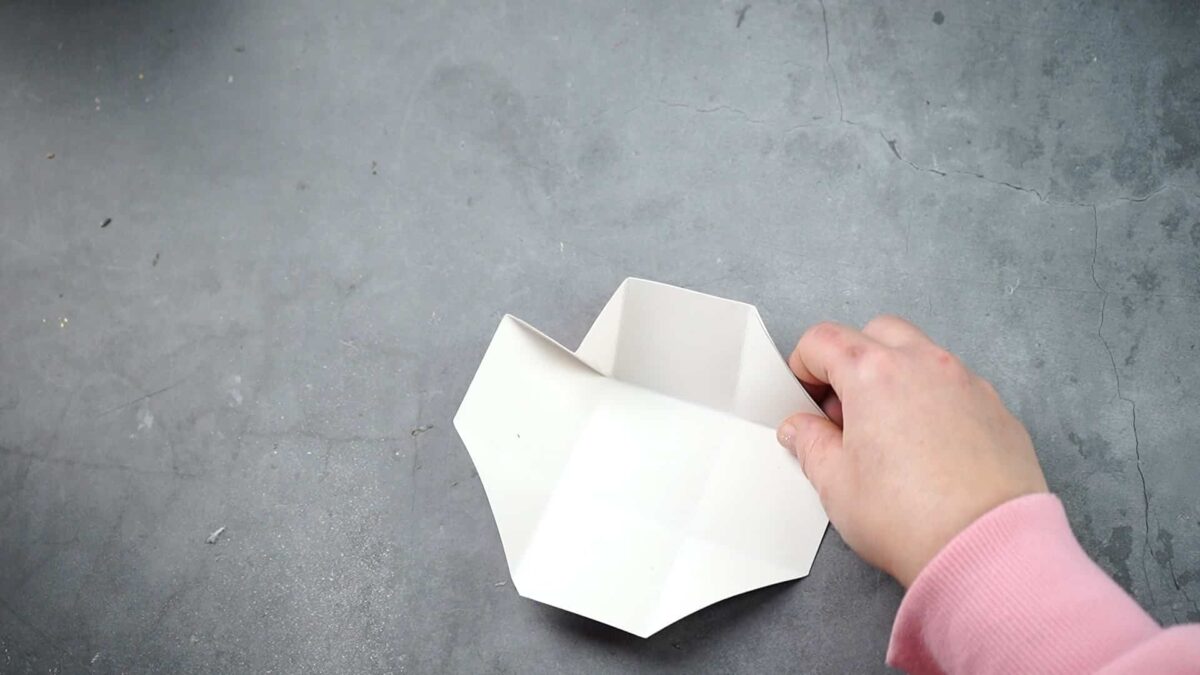
We continue without removing the template that we have on top and superimposed. Now we can fold it so they go forming the folds What do we need to make the box?

Third step:
We print the cover of the box on the red cardboard. It we cut and we fold all the lines to form the folds.
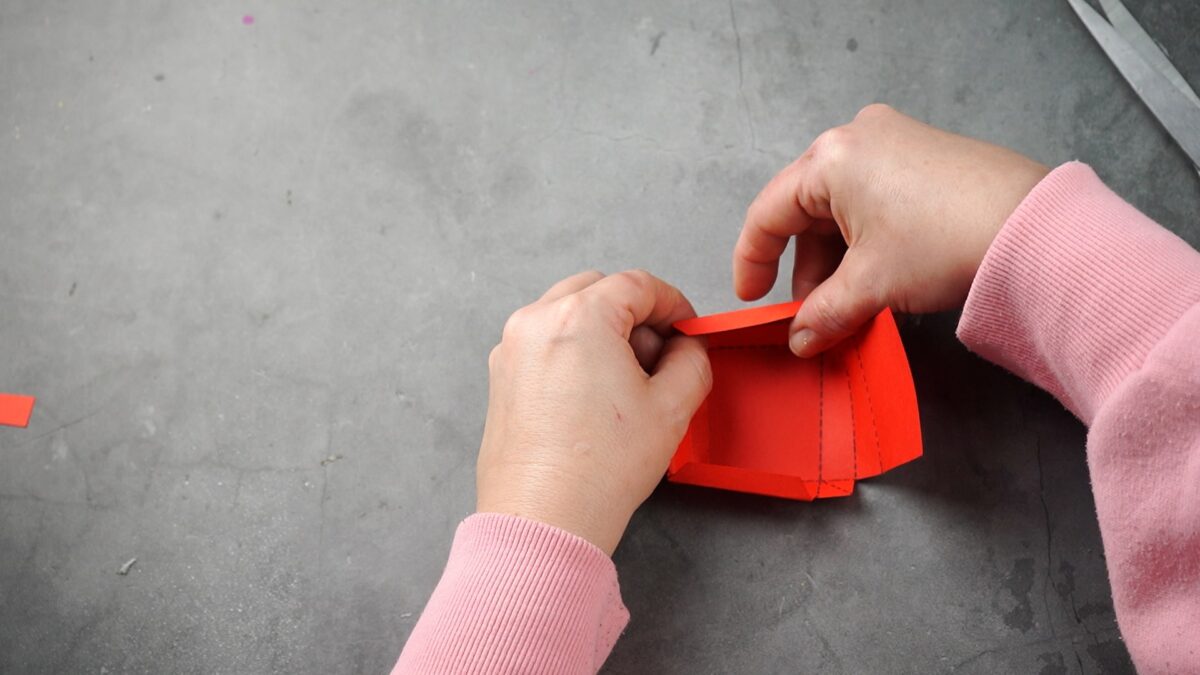
Fourth step:
We form the box following the folds that we have folded. Finally, we take the large extension we have and fold it inward. We don't need to glue it, since the folds are enough, but if necessary, we add a little glue.

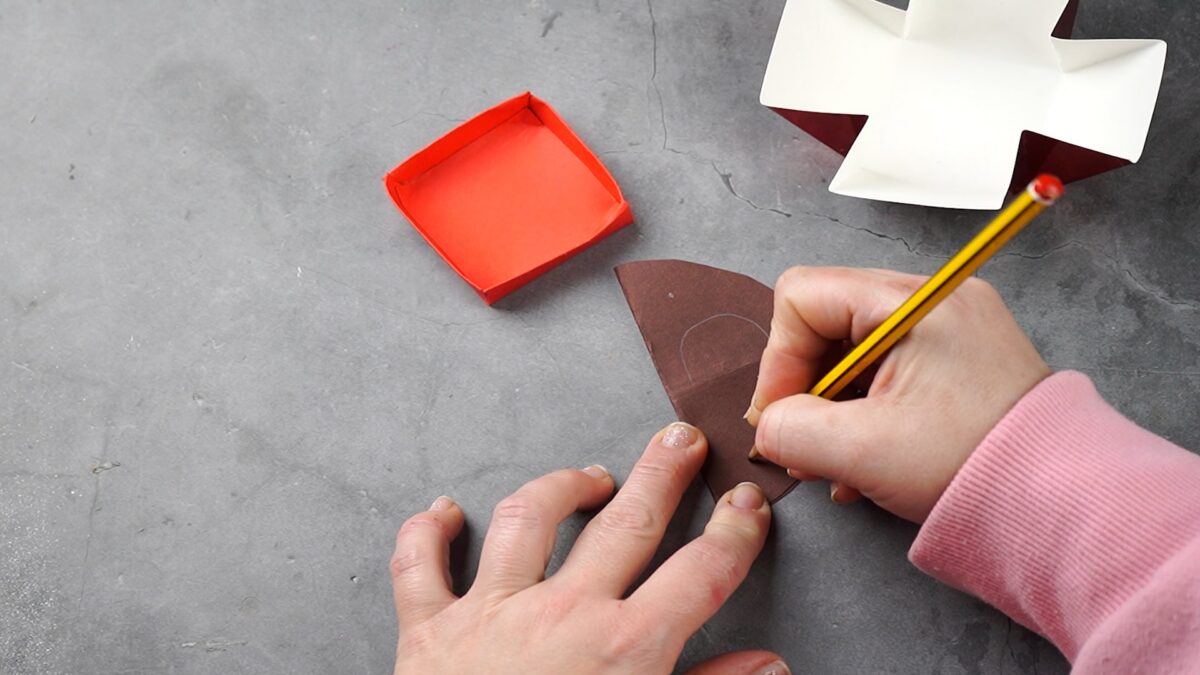
Fifth step:
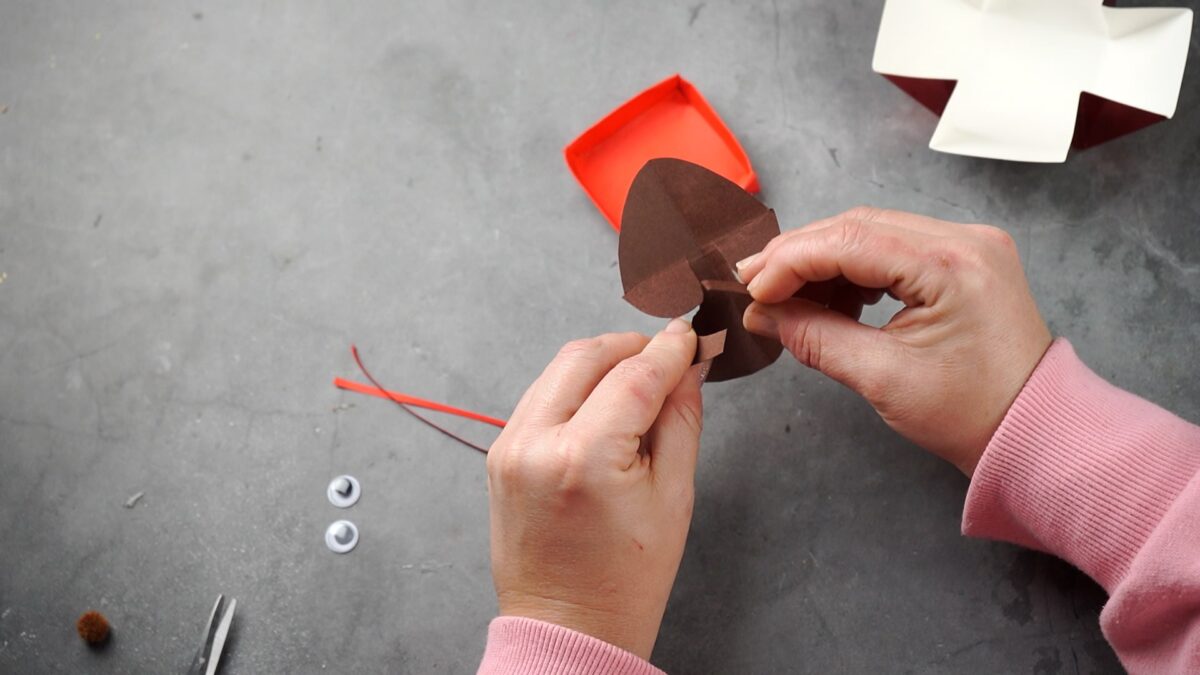
With the help of a compass we draw a 8 cm diameter circle. We cut it out and we fold in half, With the pen we draw a kind of heart shape. Then we cut it out. The unfolded shape will remain as in the photo.
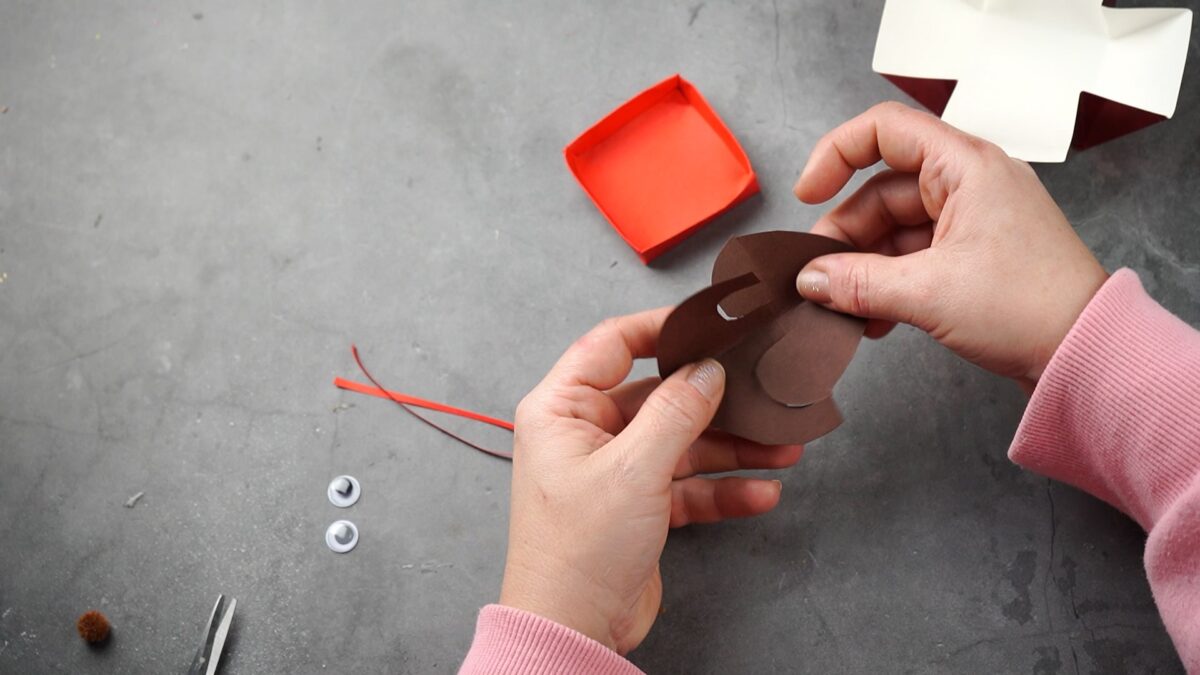
Step Six:
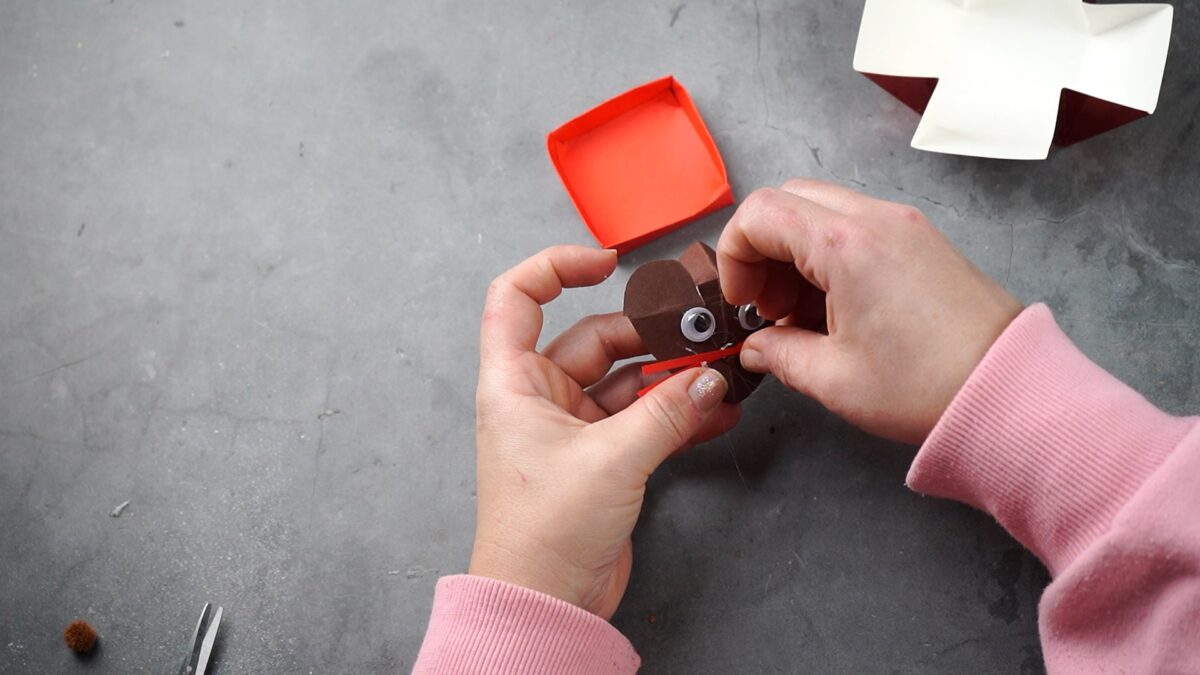
We fold strategically (you can see the video) and we glue the ends with a drop of silicone. We cut out the red cardboard two very thin strips, to simulate mustaches. We take the eyes, mustaches and pompom and we stick it on the mouse's face.
Seventh step:
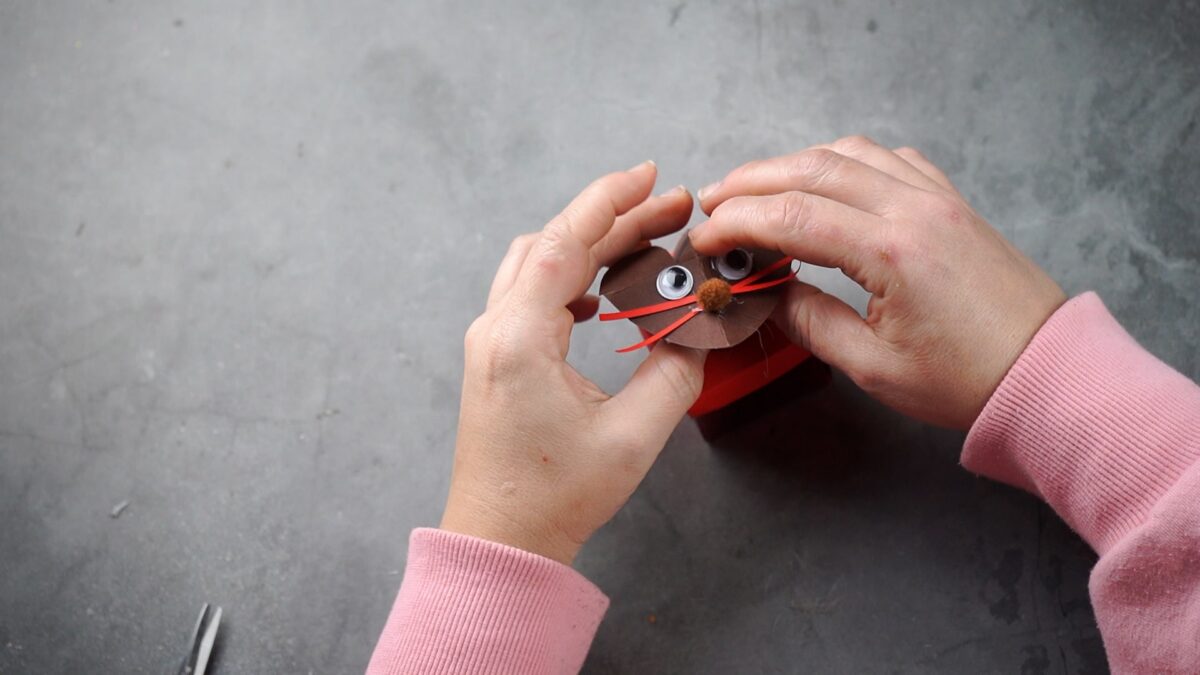
We assemble the box. We carry the structure of the mouse and the we glue on the cover.
Templates to download and print the box plans: