
Do you want to give something handmade this Valentine? How's it going a pretty heart-shaped bookmark? Once you have seen the way to do it, you can do it with cardboard, with photographs. Imagination to power !!
Are you up for it?
Materials that we are going to need
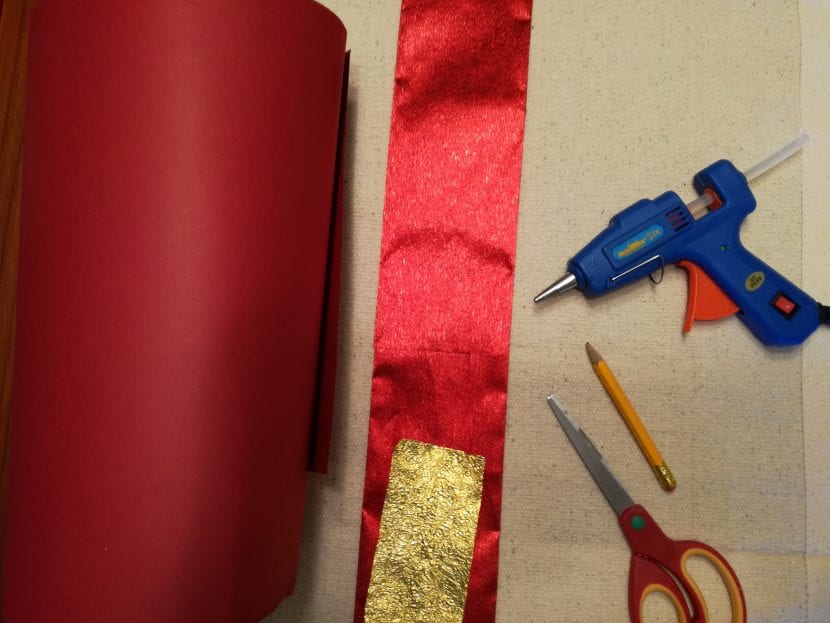
- A piece of cardboard of the color you choose, I have chosen red as it is a gift for Valentine's Day. You can also take a photograph in addition to cardboard.
- Hot glue gun or strong paper glue.
- Scissors
- Pencil
- Decorative papers to make the final touches to our bookmarks.
Hands on craft
1. We take the cardboard of the chosen color, or cardboard and a photograph if you want to make it even more personal. We draw a heart and cut it out. It does not matter if the heart is not perfect, because we will retouch it throughout the craft.
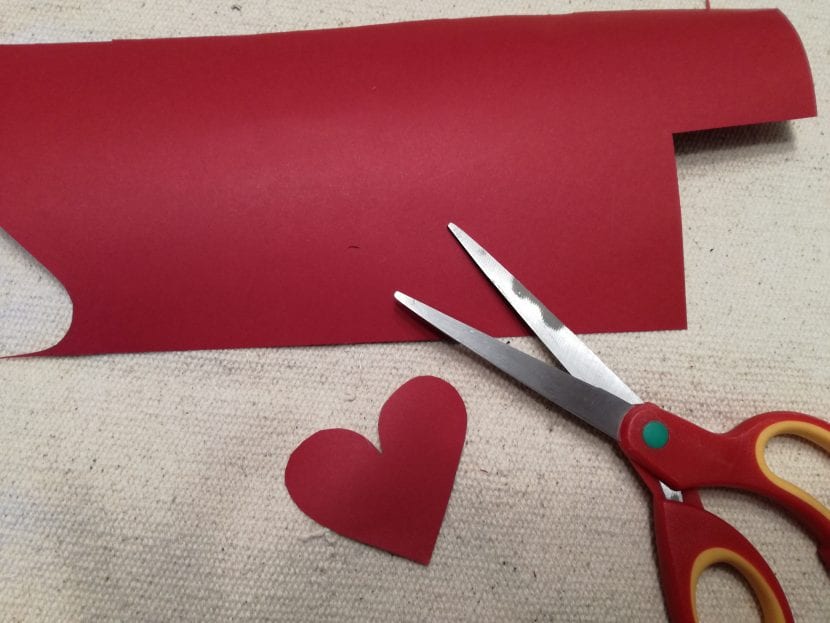
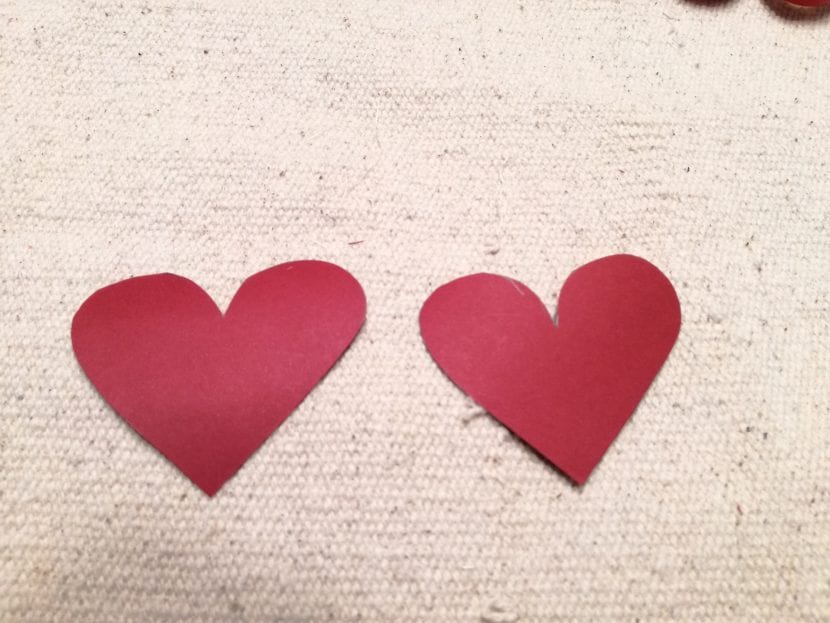
2. Using the cutout heart as a template, we draw another heart on cardboard and cut it out.
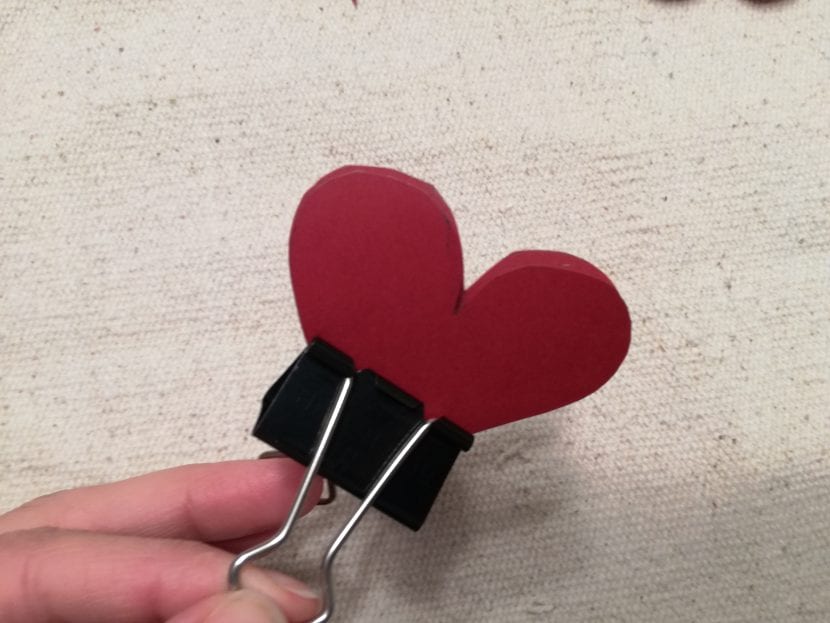
3. With the help of a clamp or clip so that our hearts do not move, we are going to join them at the tip partWhere they have to fit together as well as possible. Don't worry about the top for now.
4. Now we are going to glue them with hot silicone or the glue of your choice. I recommend hot silicone because it dries quickly and sticks very well. Let's put the silicone following the upper edge where the heart makes the two circles. But be careful not to hit too low or the bookmark will not work. Calculate a straight line at the height where the two half circles of the heart meet, that is the limit. Once glued, we will check that it holds up well by placing it in a book.
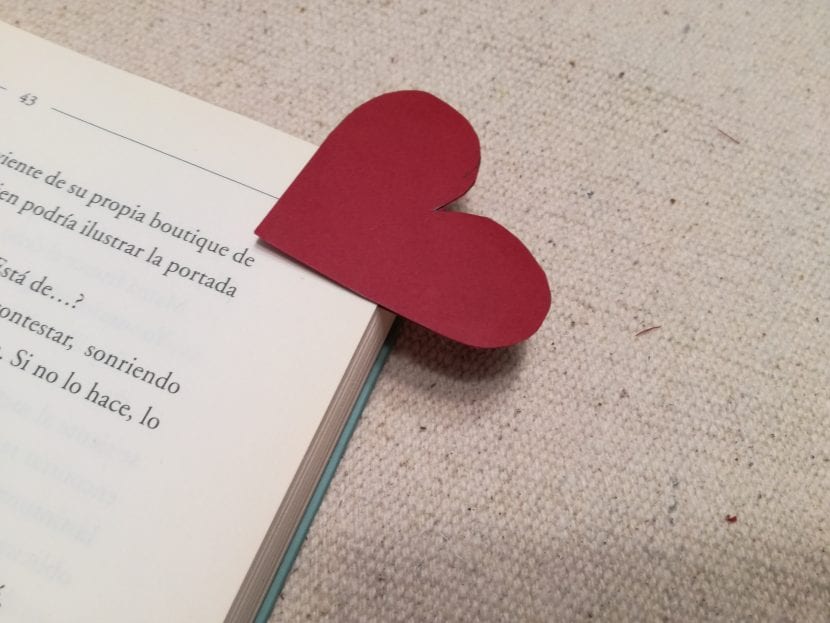
5. Once we see that we have hit just enough for the heart to hold, we will cut out the top of the heart to make the two parts of our heart the same. A trick that helps it look great is, after trimming it, run a nail file along the edge. This will eliminate spikes, and the paper will feel like it is one piece instead of two. This can be seen in the image below. Remember to remove the burrs by carefully passing the file over them.
6. We only have decorate it to our liking and voila! I have put three little hearts with shiny papers.

I hope you cheer up and do this craft.