
This craft that I bring you today I like for how educational it can be for children. Not only because of the combination of colors and that it is entertaining, but because of the game itself that its polygonal shapes bring. Sometimes we want to make the shape of something, but we don't know where to start. So this windmill with eva rubber can be ideal to learn and begin to lay the foundations of the mathematical logic of polygons.
Here are all the steps so you can do it!

Materials
- Brown eva rubber
- Yellow card
- Toilet paper carton
- Glue stick
- Aluminum foil ball
- Tornillo
- Scissors
- Black marker
- Screwdriver
- Compass
Our Process
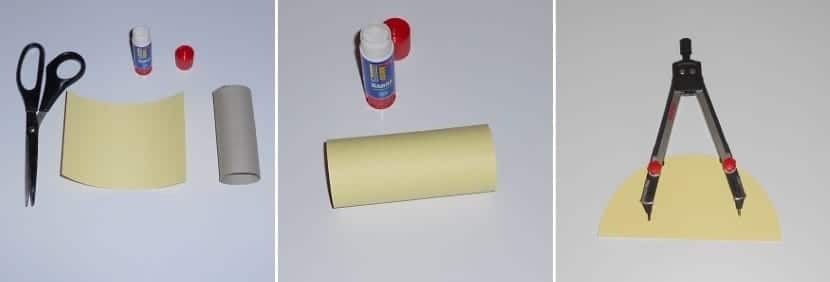
- Cut a piece of yellow construction paper of the same width and perimeter as the cardboard of the toilet paper roll.
- Glue the cardstock to the cardboard with glue stick.
- Trace a semicircle with the compass and cut it out with the scissors.
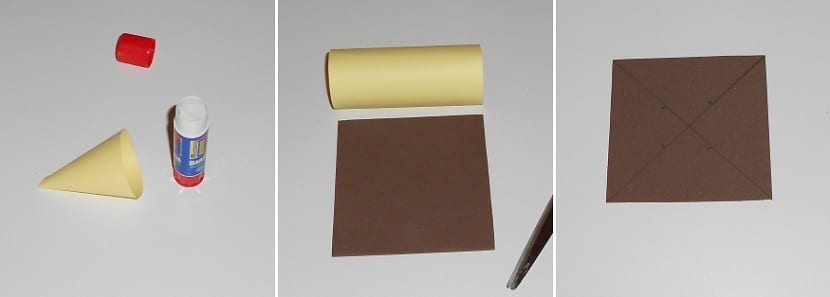
- Take the semicircle and join until taper is achieved. Join its corners with the glue stick.
- To make the blades, cut a square of eva rubber. If you don't know what length to make, I'll show you that what I did was take the same length as the cardboard.
- Then, with the help of a ruler, draw a line connecting its corners. It is the area to be cut. To make them all the same, from the crossing point, leave a small slack, about 2cm from the center is fine.
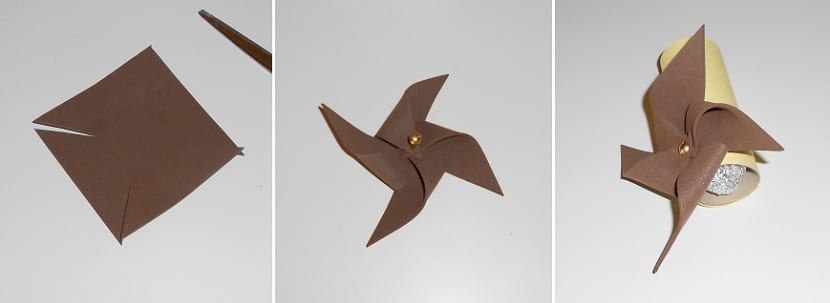
- Cut around the corners to the area that we have marked, from the eva area.
- With each of the tips, pass the screw, as seen in the picture. Remember to always take the corner on the same side.
- Then, insert the screw near a corner of the cardboard. When you start to go through it, feed it through the ball of aluminum foil. It will give you some more rigidity.

Finally place the top part of the cardboard, and accompany him with a drawing. And it will be ready!
I hope you liked this craft, and that if you have a little one around you, have a good time making it.
Remember that you can also follow us on our YouTube Channel!