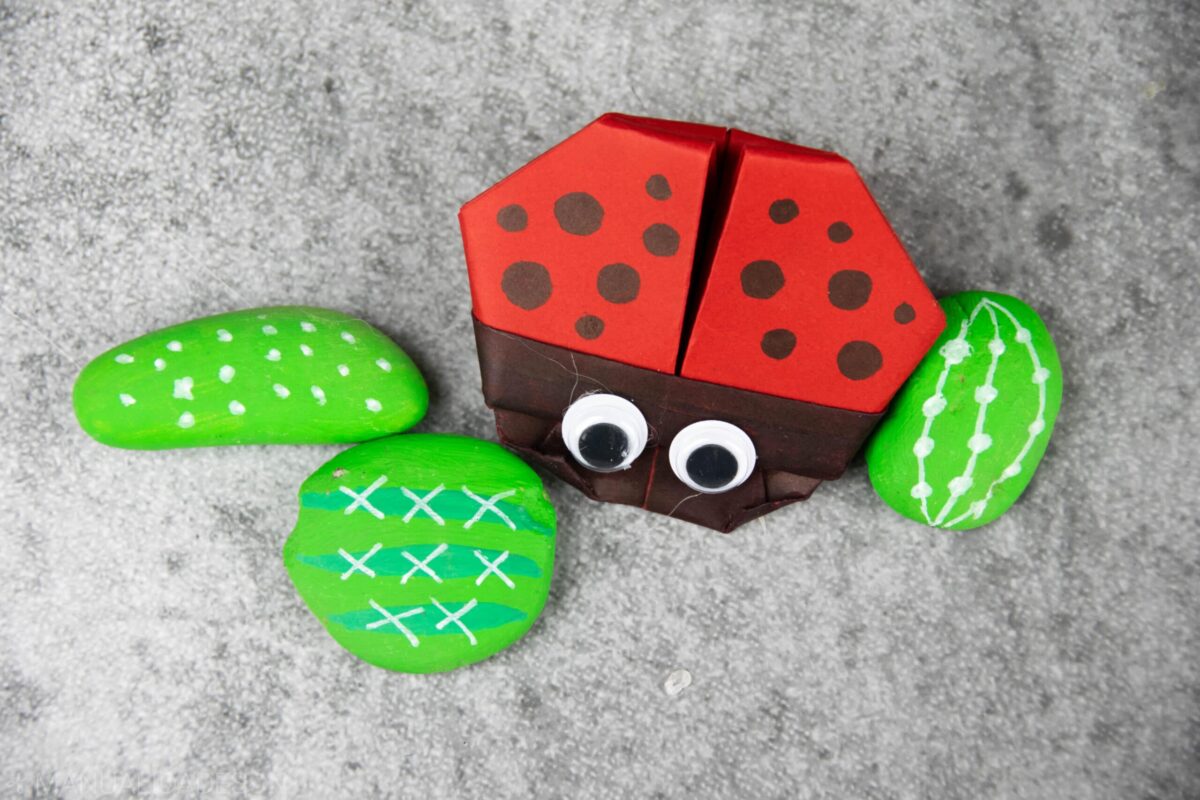
This ladybug made of cardboard or paper is a wonder. It is an easy craft to do, but it has many steps, since that is what the origami. In this case we have a demo video to make viewing it much easier and then we will show how to make the ladybug with images and a small informative detail. This insect is very original for children do you dare to do it?
The materials I used for the jar:
- A red cardboard or thick paper.
- Black marker.
- Two eyes for crafts.
- Hot silicone glue and its gun.
- Pencil.
- Ruler.
You can see this craft step by step in the following video:
First step:
We choose the cardboard or red paper and make a perfect square. In my case it is about 21,5 cm on each side. We are going to draw two black corners, opposite each other. To do this we mark 10 cm away and with the pen from the corner to one side. Then we outline the area that we are going to draw and finally we color it black with the marker.

Second step:
We place the cardboard frontally with one of the black corners up and to the right. We take the lower right corner and raise it to fold the cardboard towards the upper left corner. We take the entire structure and fold it in half again and unfold.


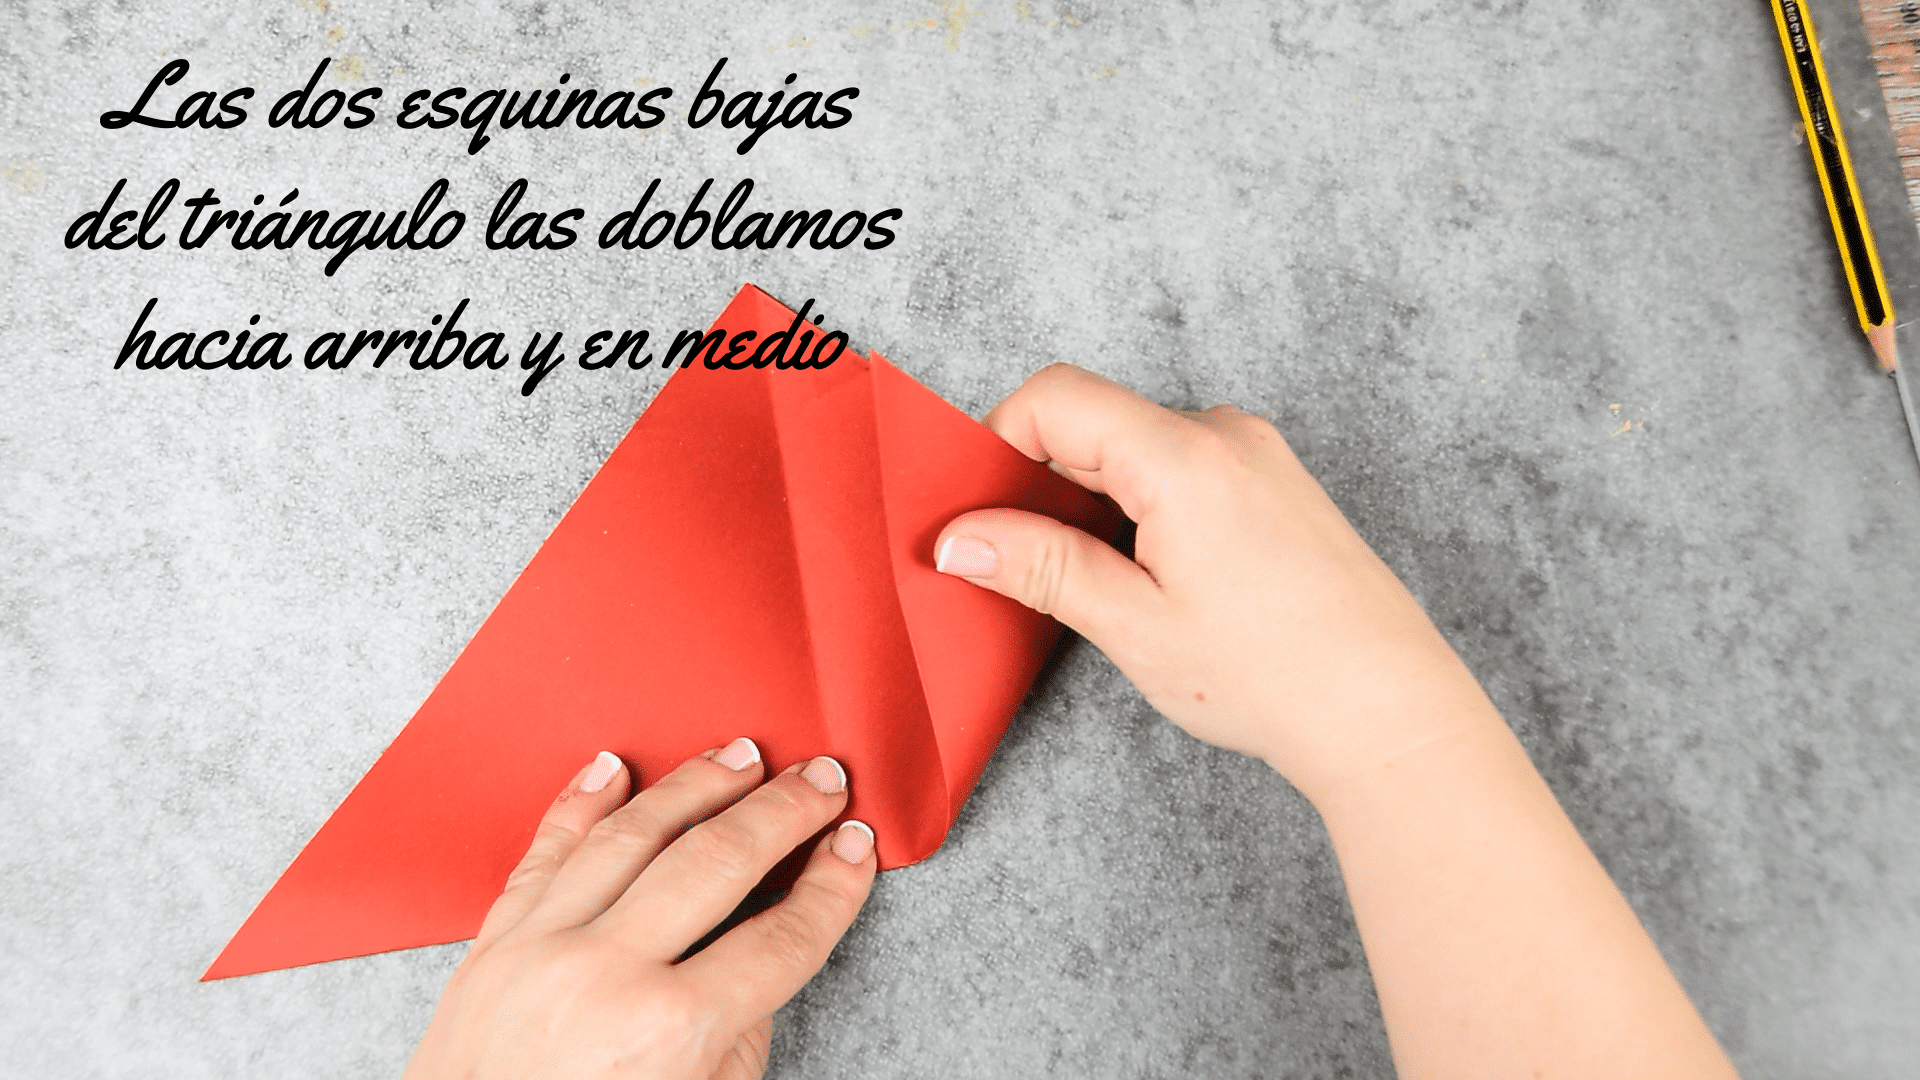
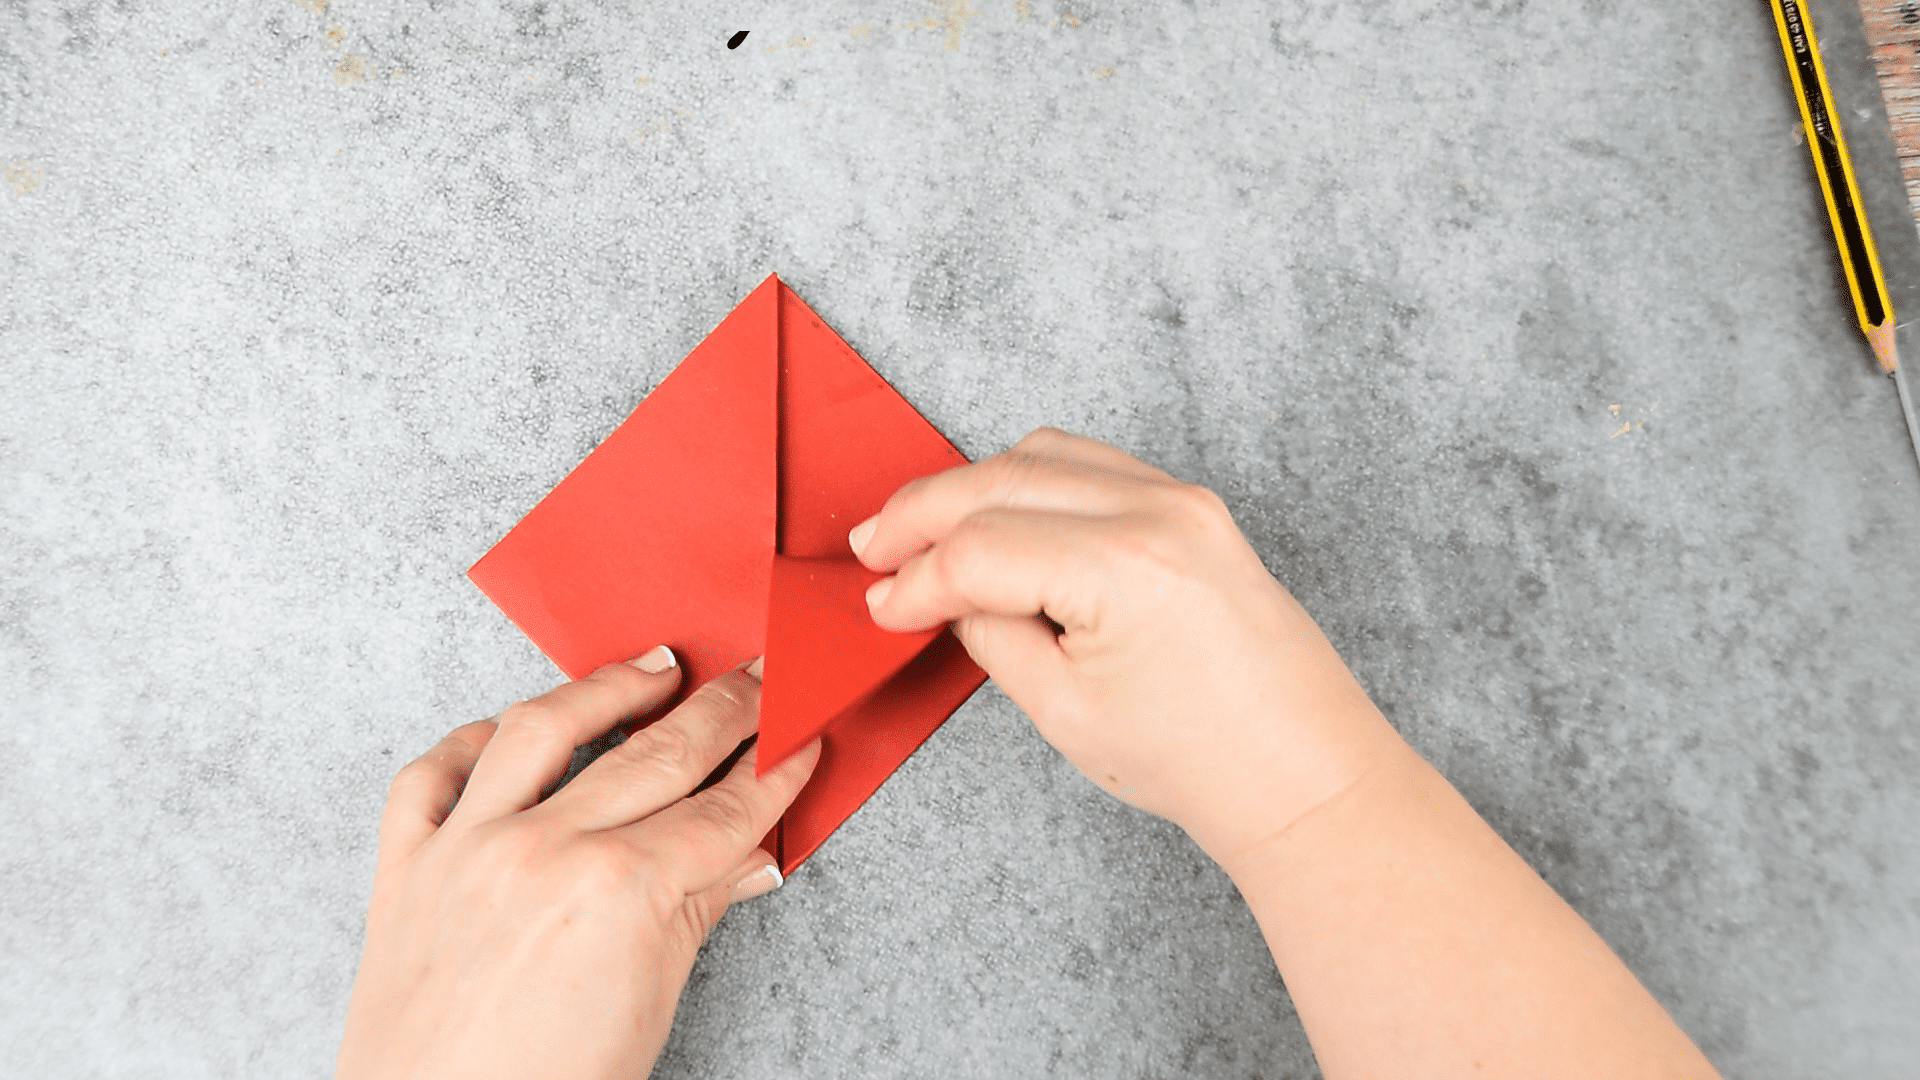
Third step:
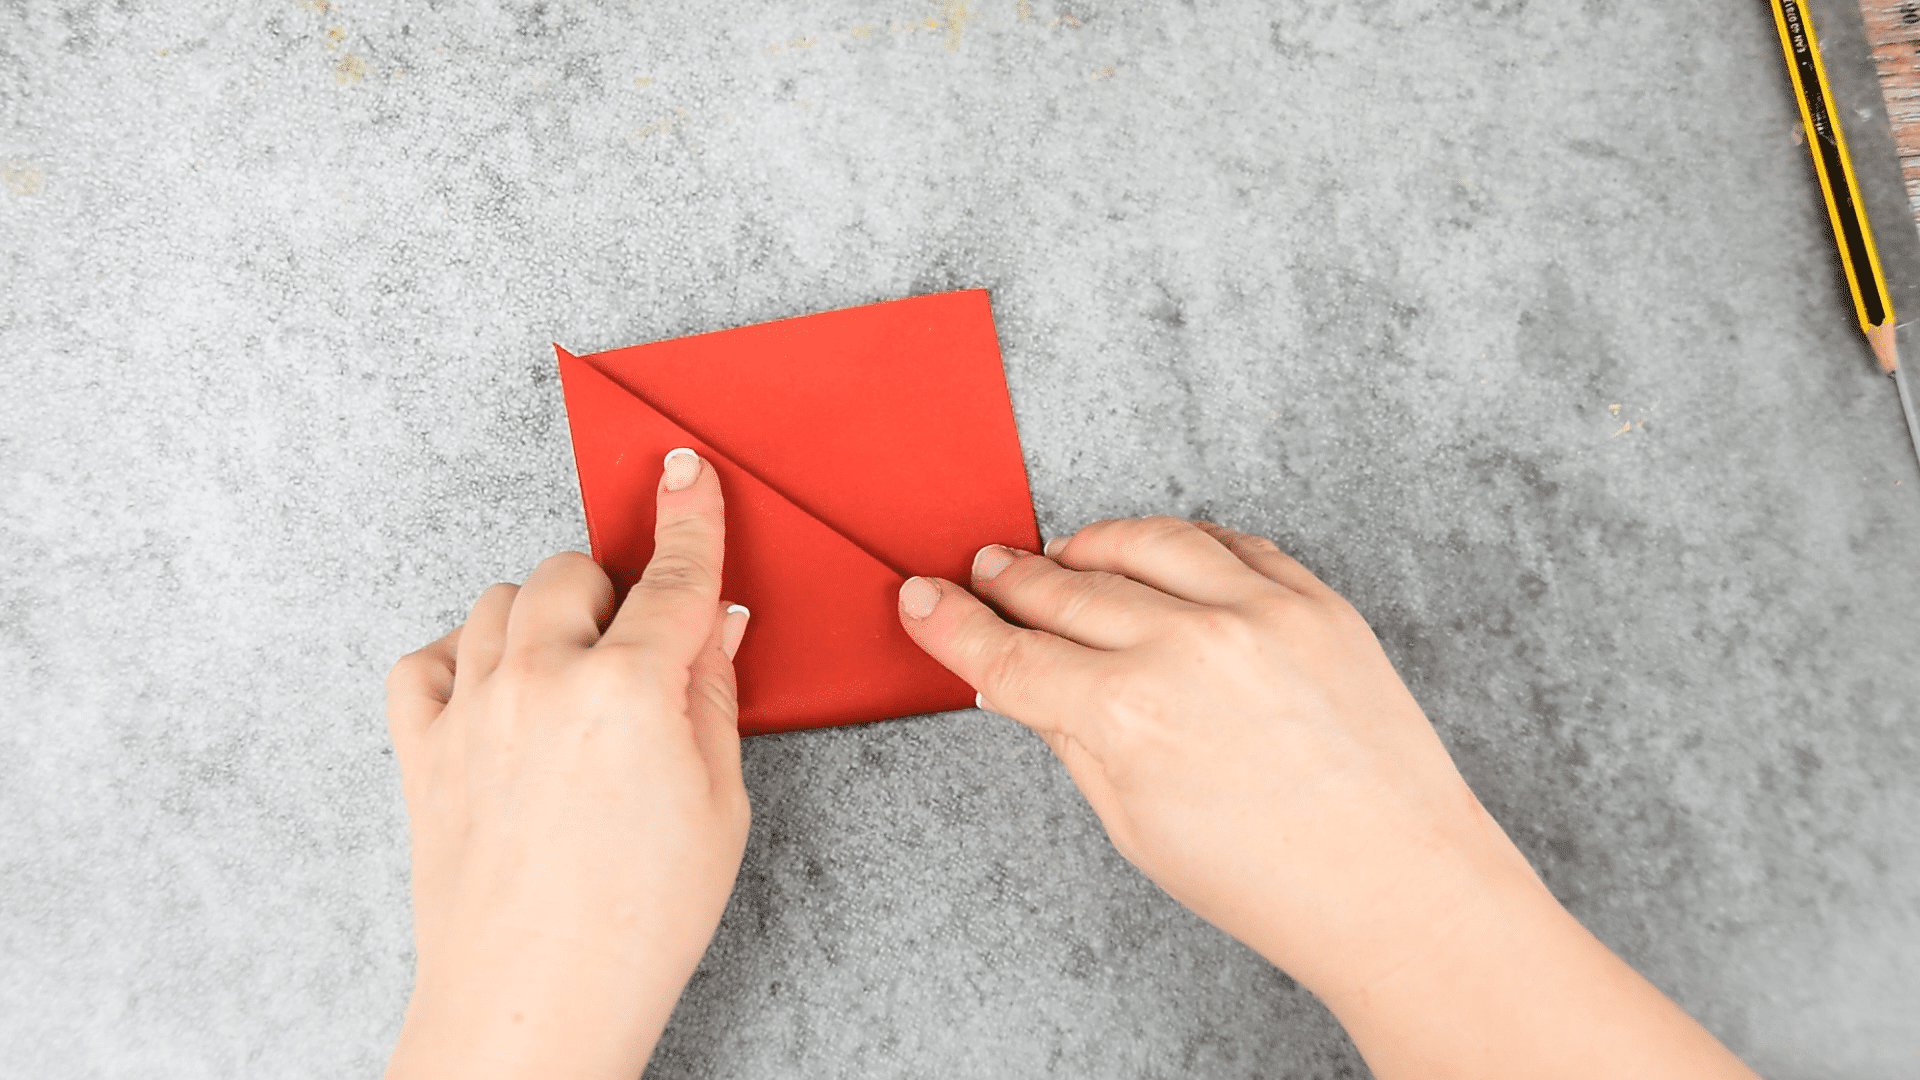
We place the structure in front. There should be a triangle with the peak facing up and the middle part marked by the fold we have made. We take one of the corners, right or left, and fold it up, trying to make the corner we have taken join the top corner. The way to fold it has to match the part that we had folded a step further back. We do the same with the other corner. Now we will form a square.
Fourth step:
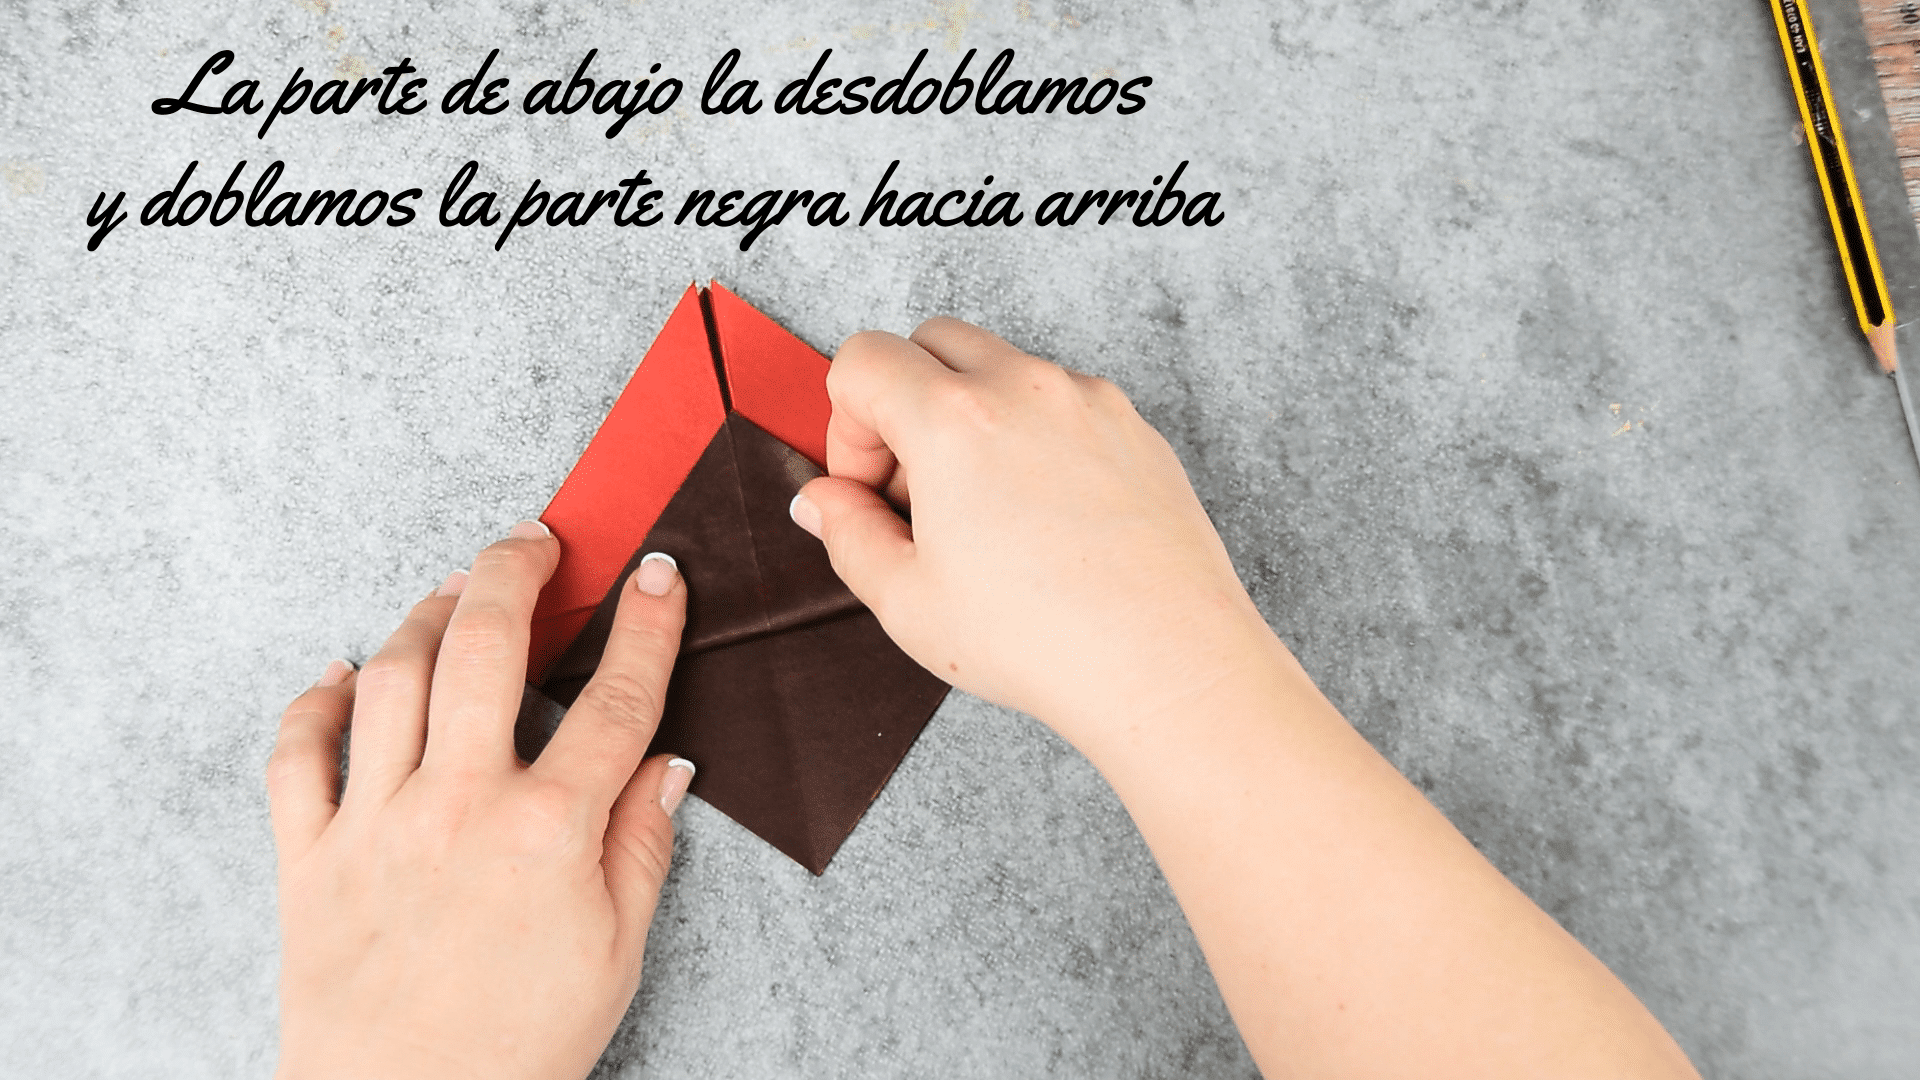
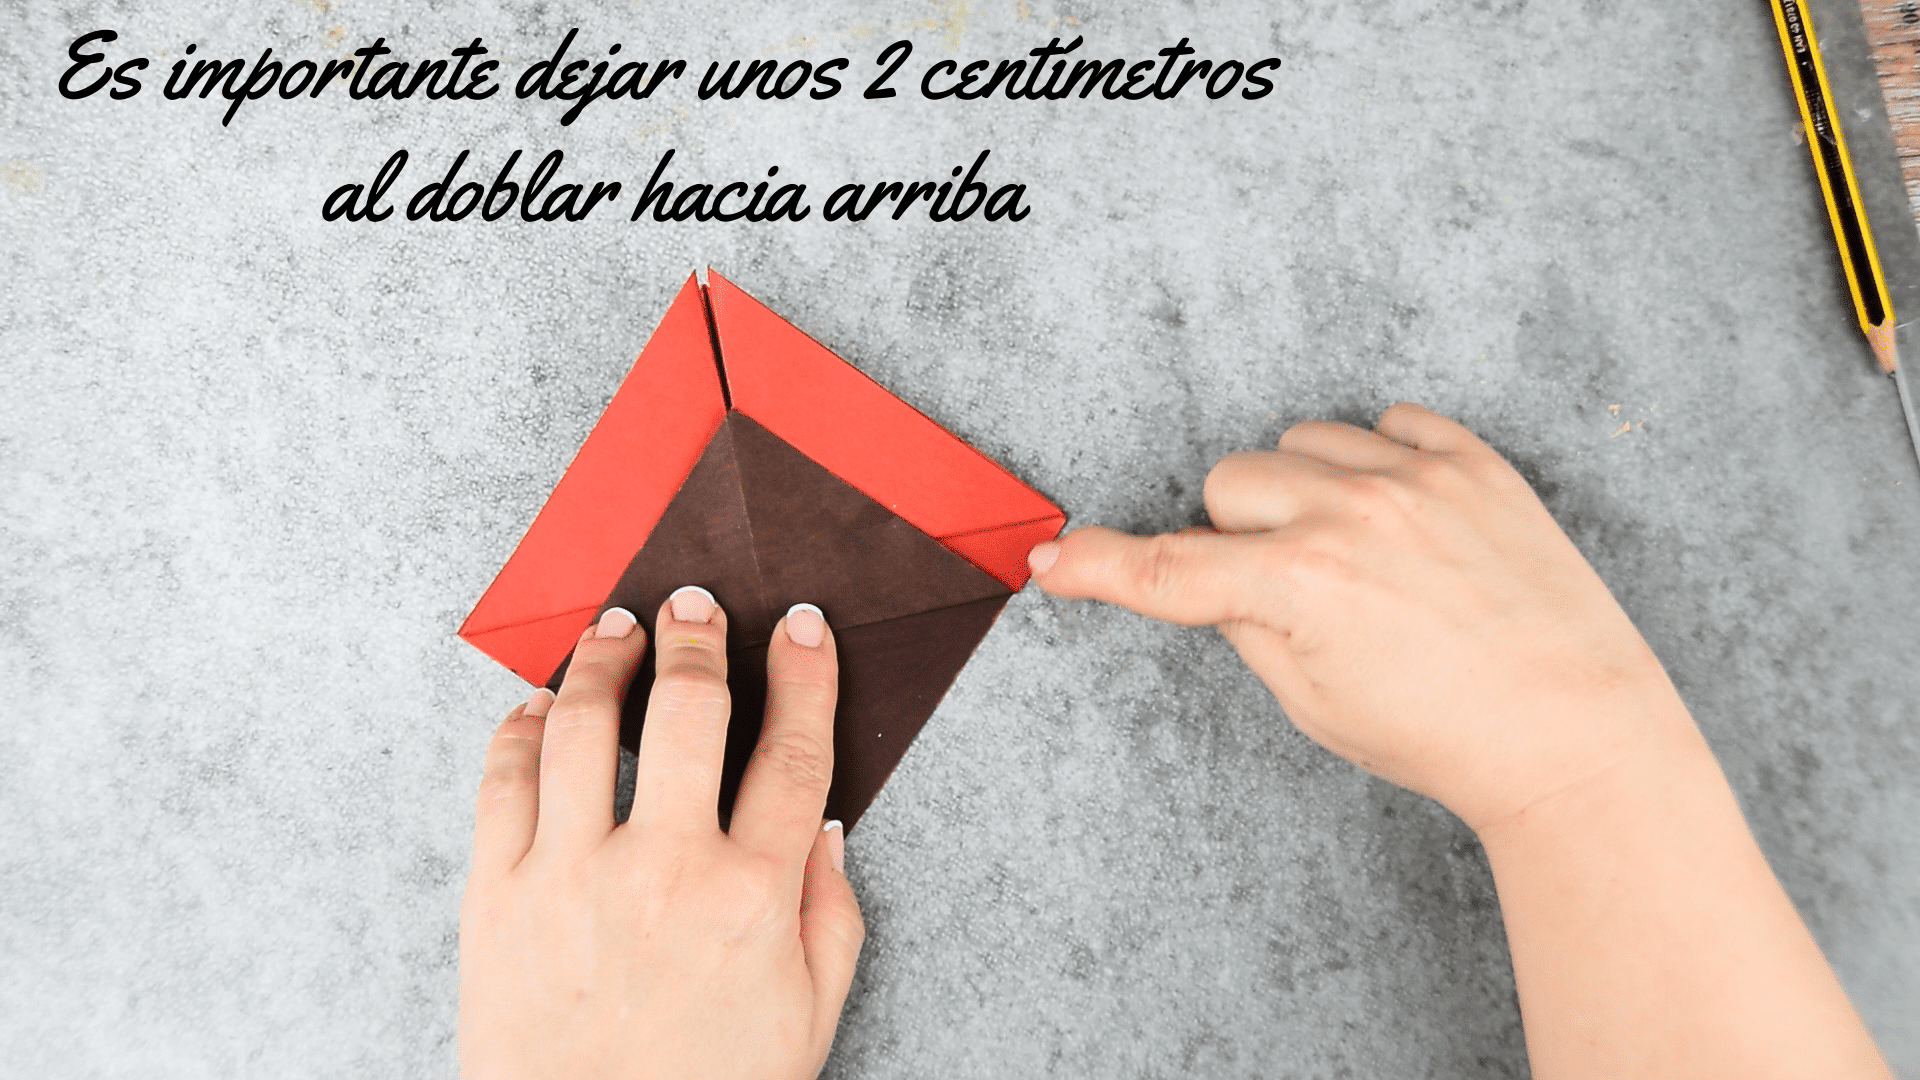
We place the square in front with the shape of a rhombus. We unfold one of the bottom and side layers and push it down so that it folds towards one of the center corners. We flip the structure up and unfold one of the bottom layers again and push it up. We will fold it, but we will not do it completely, but we will leave a small margin of 2 cm.

Fifth step:
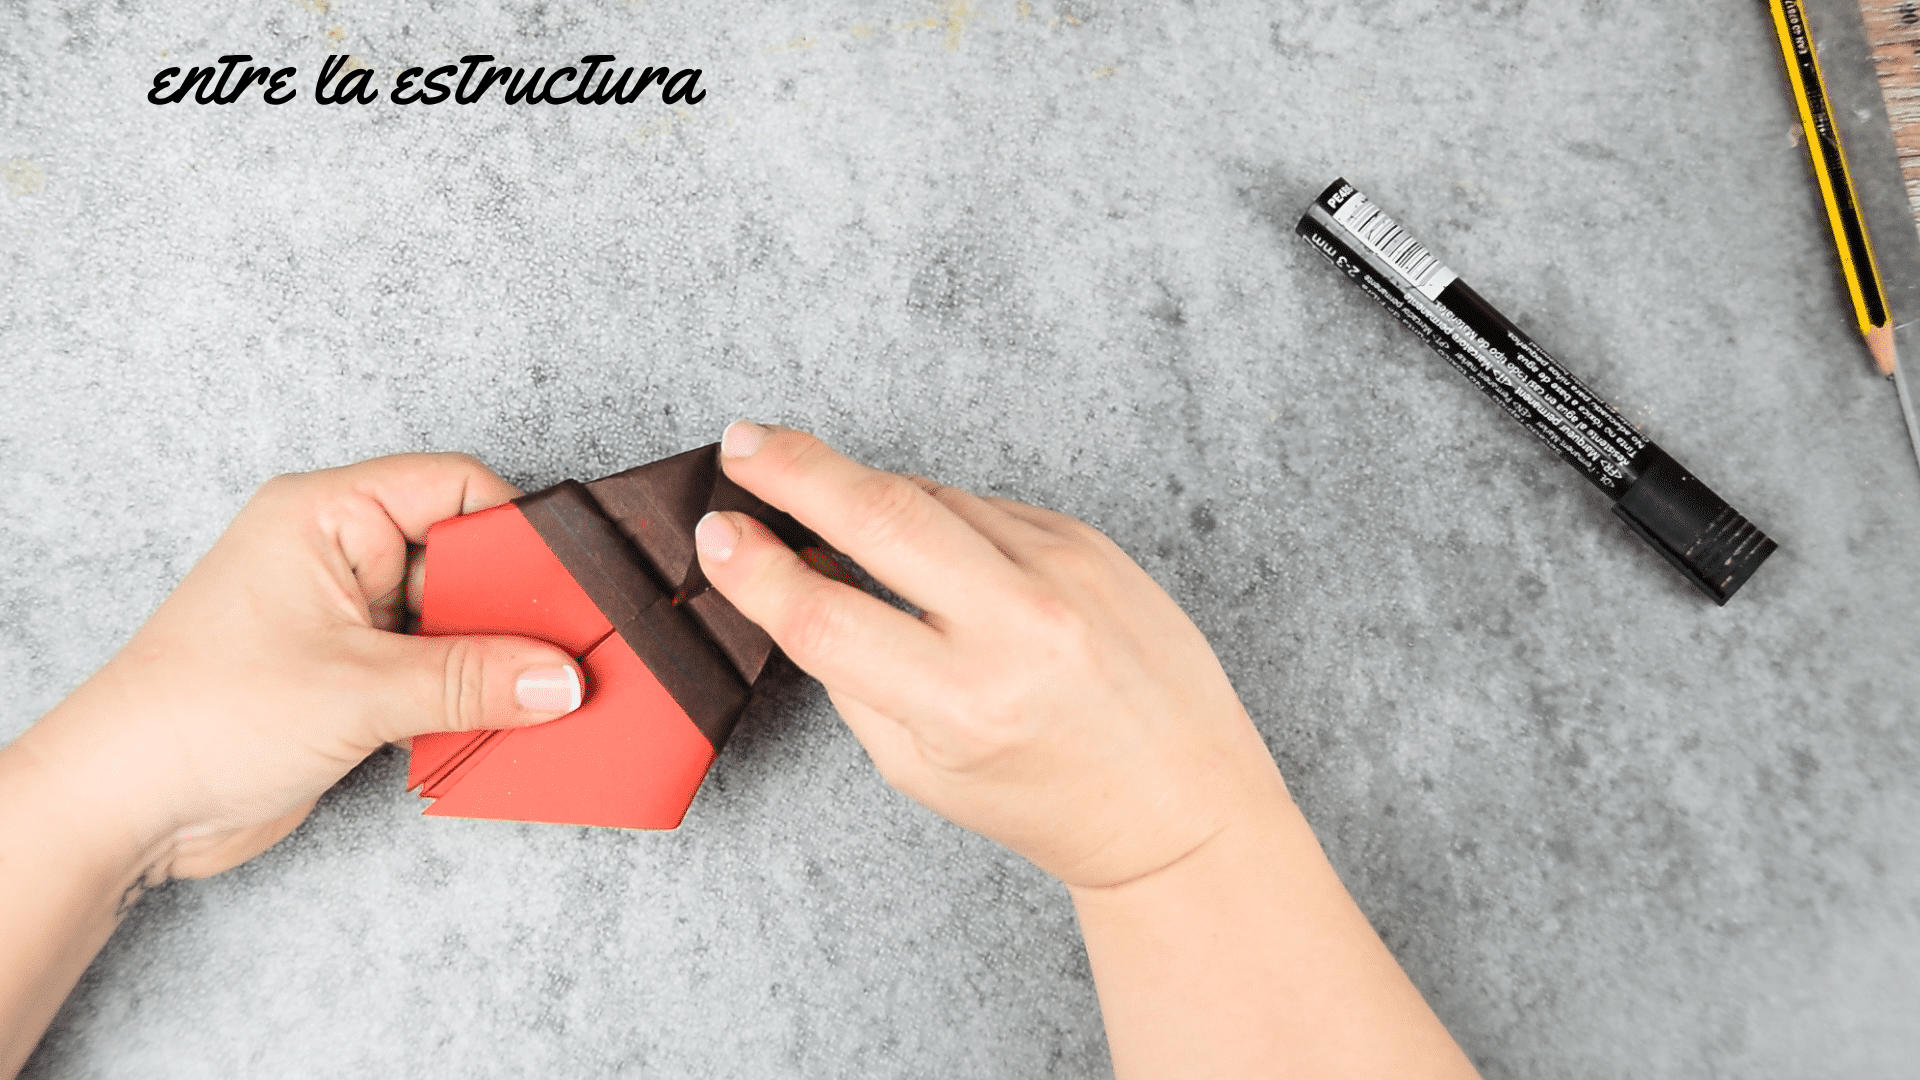
We open the structure and put what we just folded inside what we have opened. We close again and turn the structure around. We take the right and left corners and fold them towards the center.

Step Six:
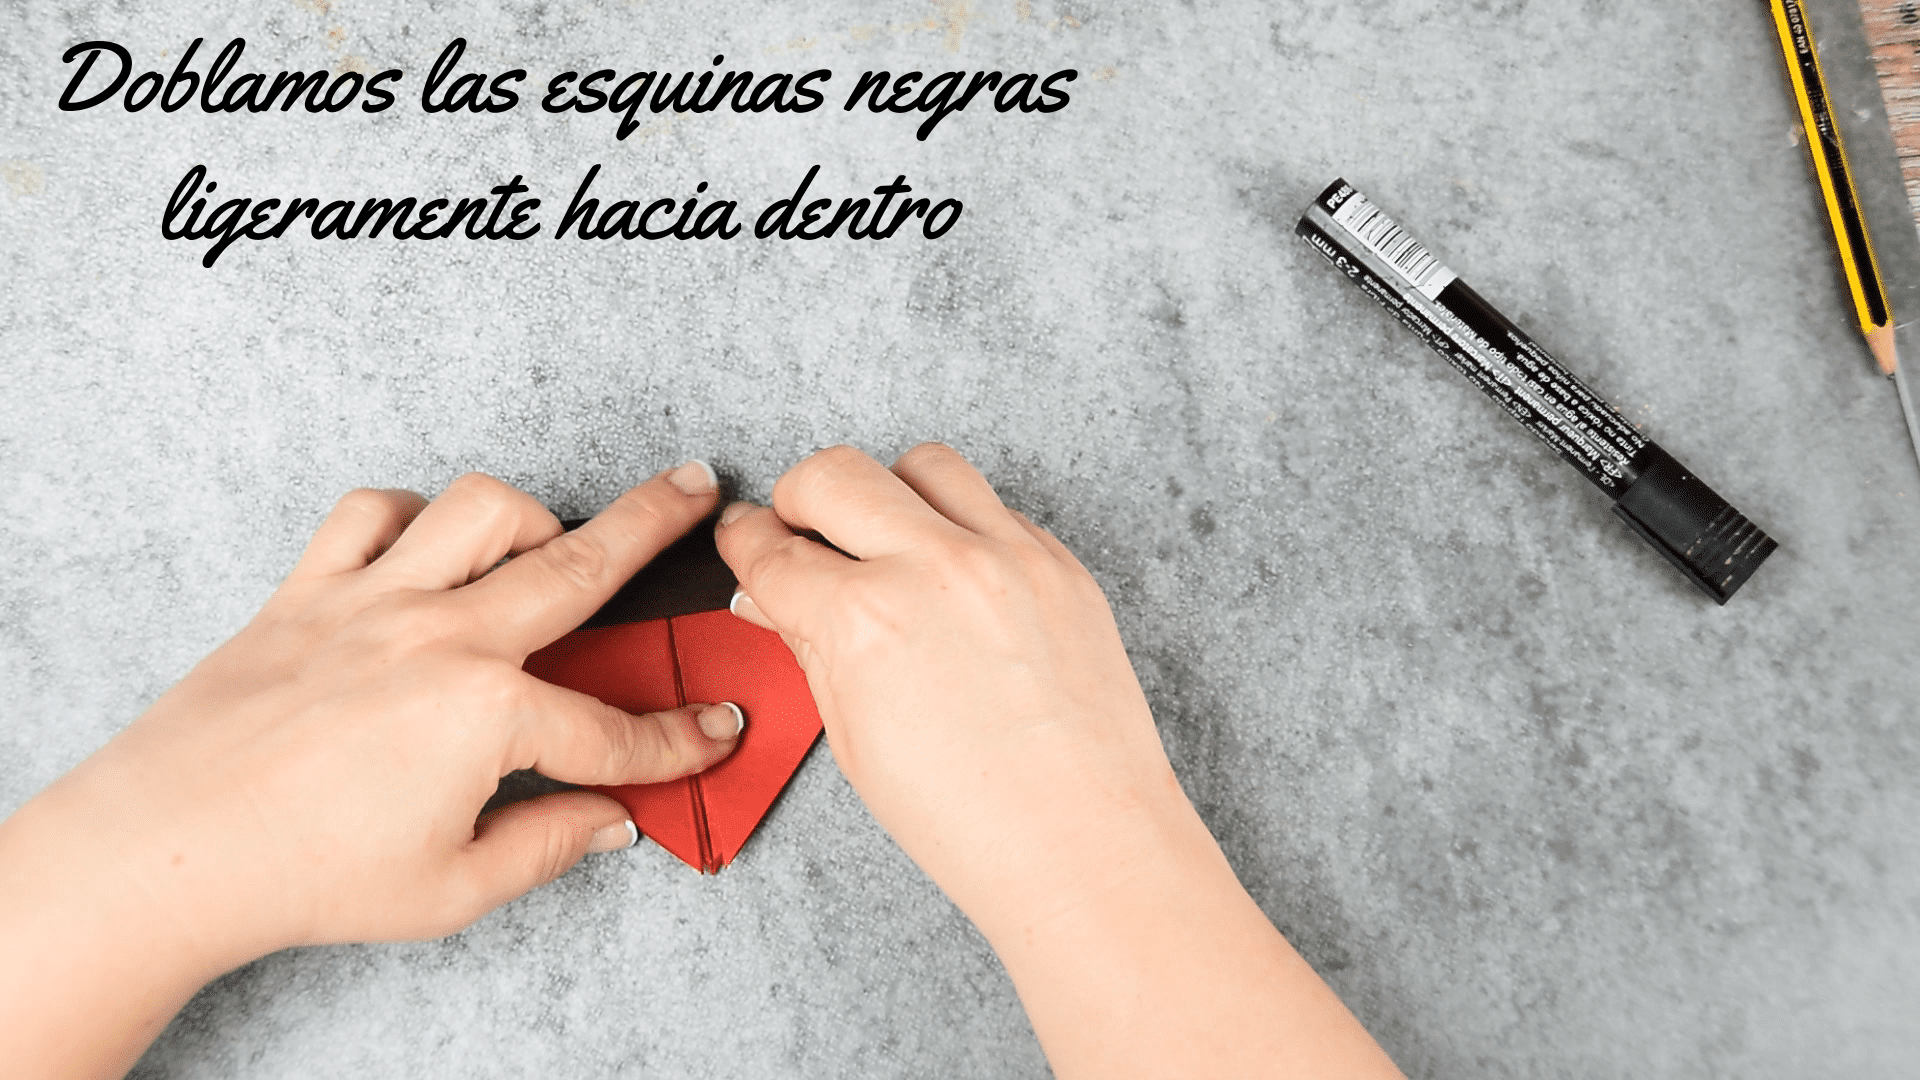
We turn the structure around again and bend the very elongated beak towards the center, but we have to put it inside the body of the ladybug. We will not fold it at all, but leave a margin of 1,5 to 2 cm. This margin will be noticeable because it will be making the shape of the head of the ladybug. We take the black corners of the head part and bend them a little towards the center.

Seventh step:
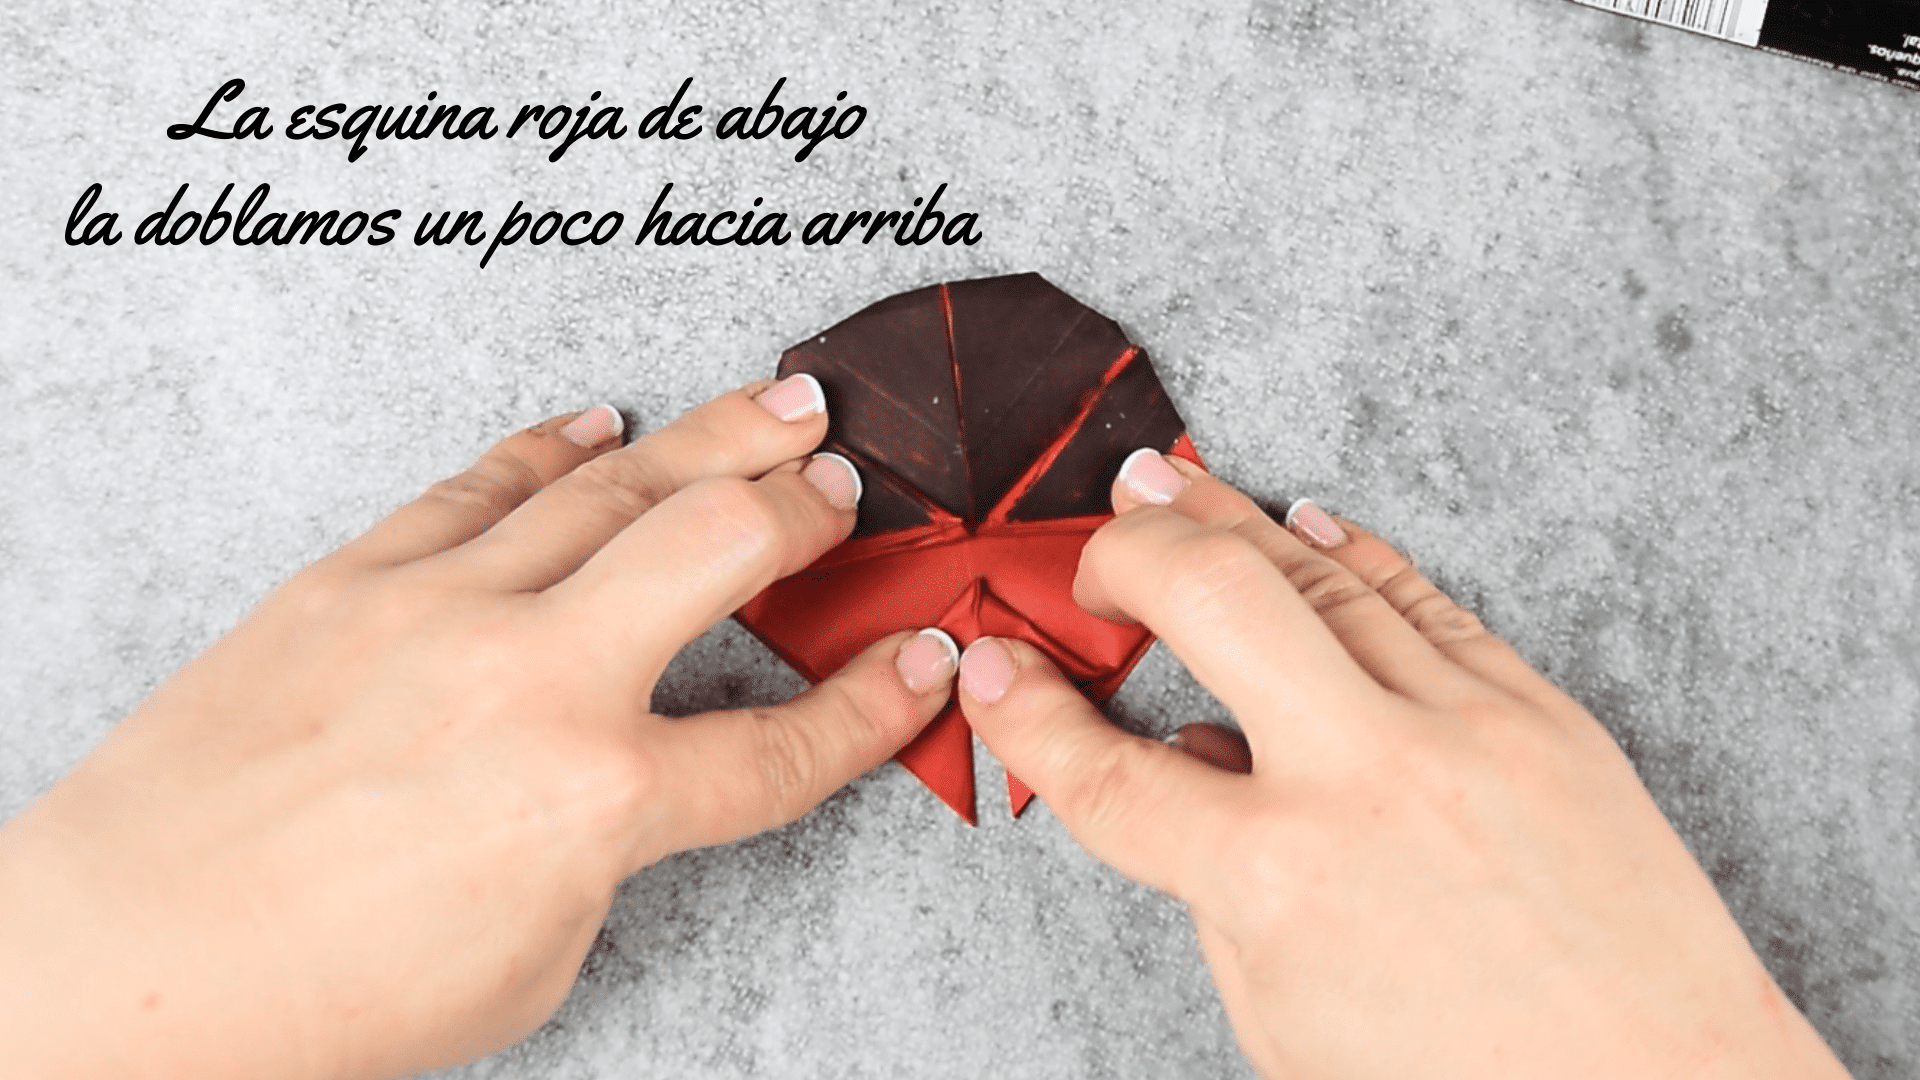
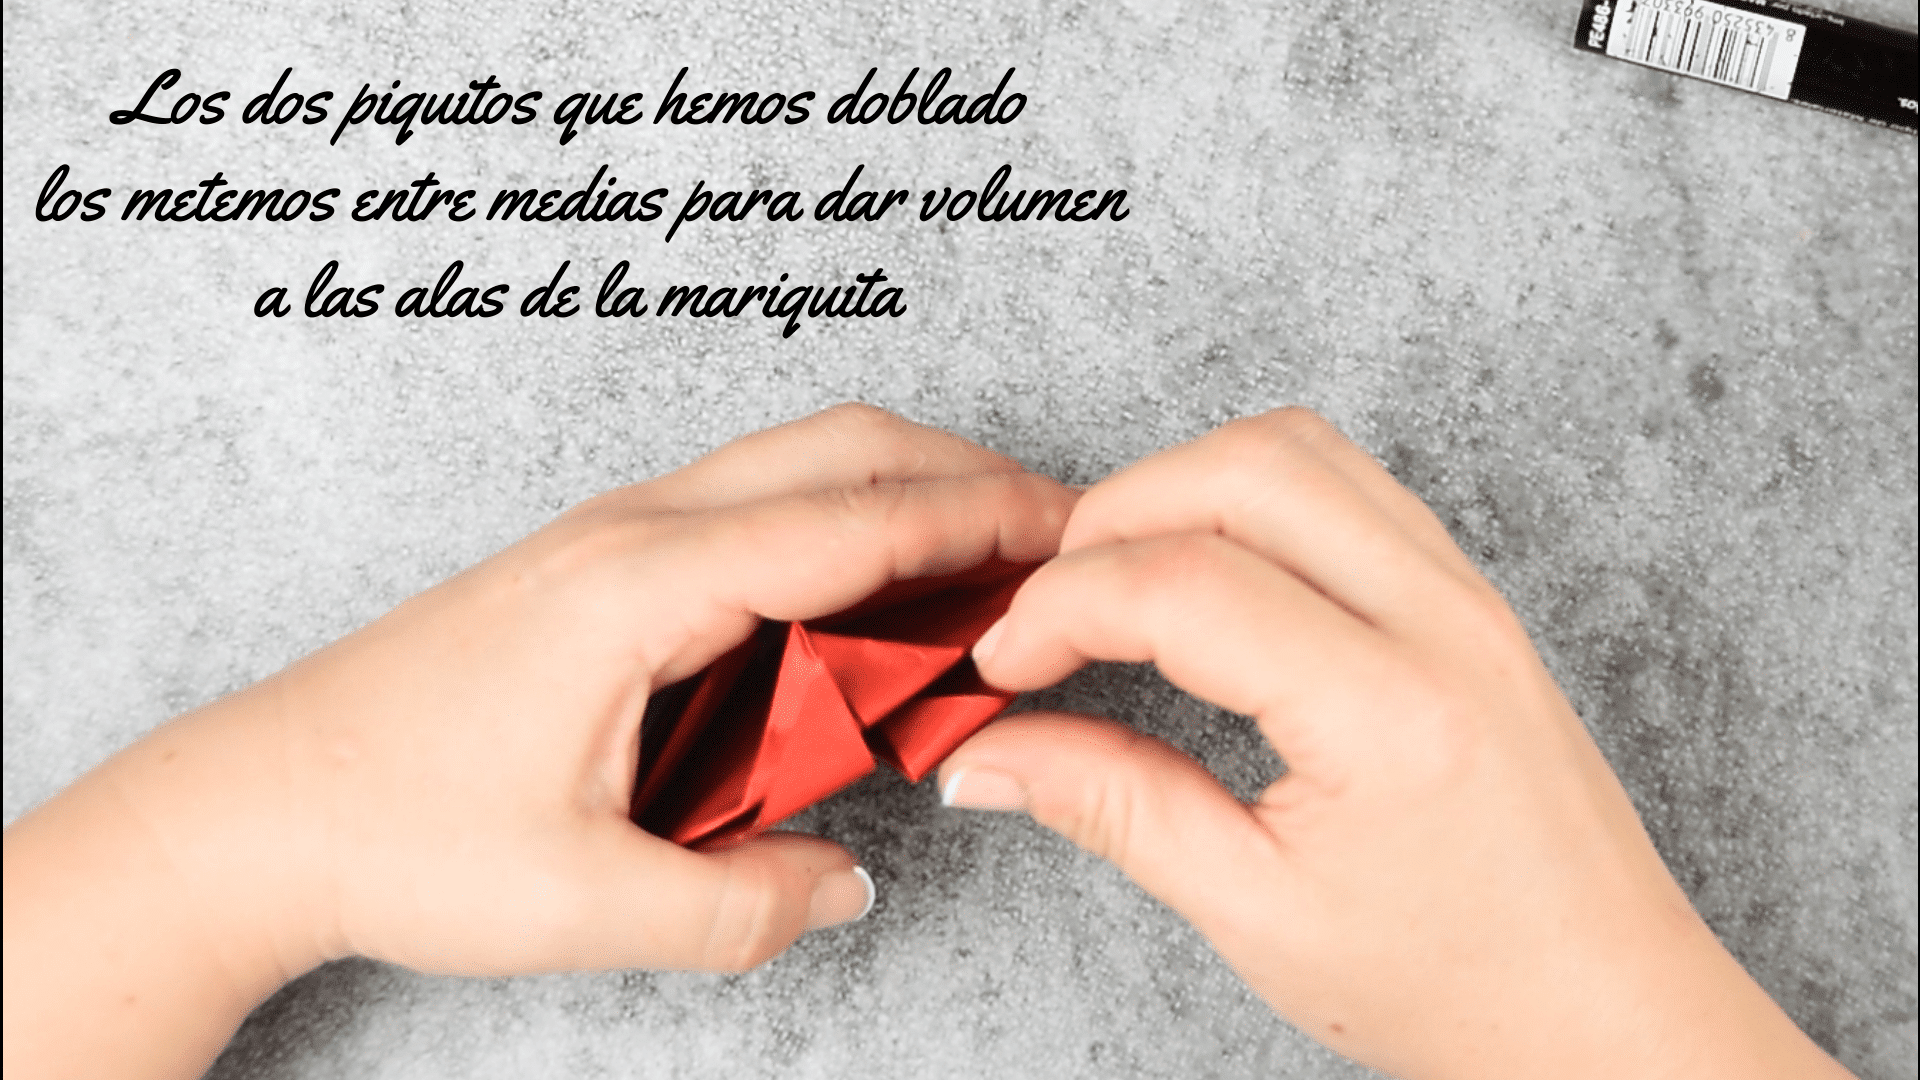
We rotate the structure again. We take the bottom corner and fold it up about two centimeters. Even the two little peaks below we fold them up. We unfold the two beaks and definitely fold them upwards, but inserting them inside, to make the wings of the ladybug take a hole.
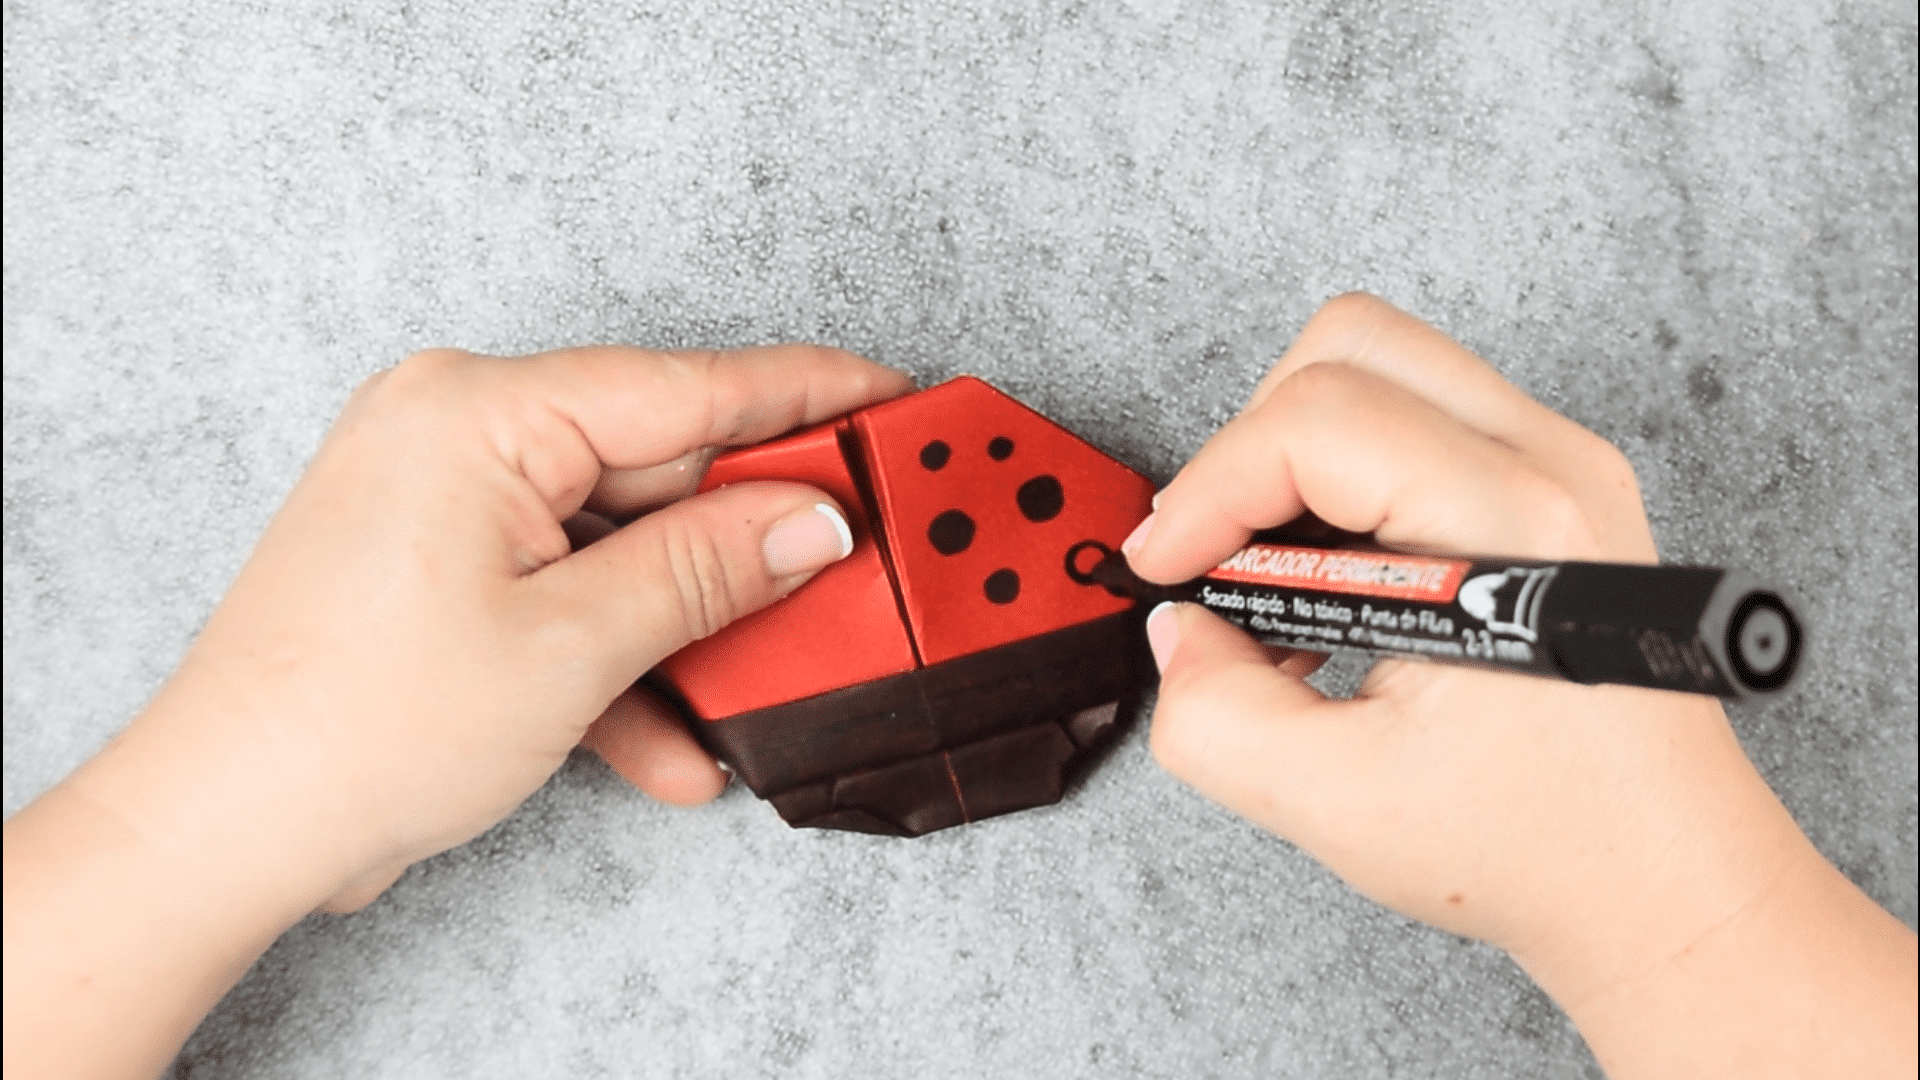
Eighth step:
We turn the ladybug again and draw the black circles on the wings. We take the two plastic eyes and stick them on the structure.