
In these Christmas parties make your christmas gnome starting from an old sweater according to the step by step that I show you below. It is a very beautiful and fun craft that you can even do with children.
Makings:
- sleeve of an old sweater.
- thread and ahuja.
- green felt.
- rice.
- wadding or stuffing.
- wire.
- hot silicone.
- screen.
- cord.
Processing:

- Cut a piece of a sleeve of an old sweater, if it is made of wool better.
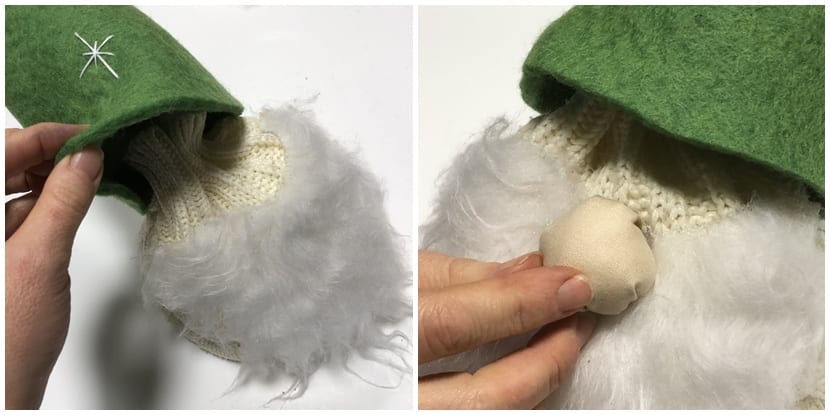
- Then turn around and with a cord tie one end.
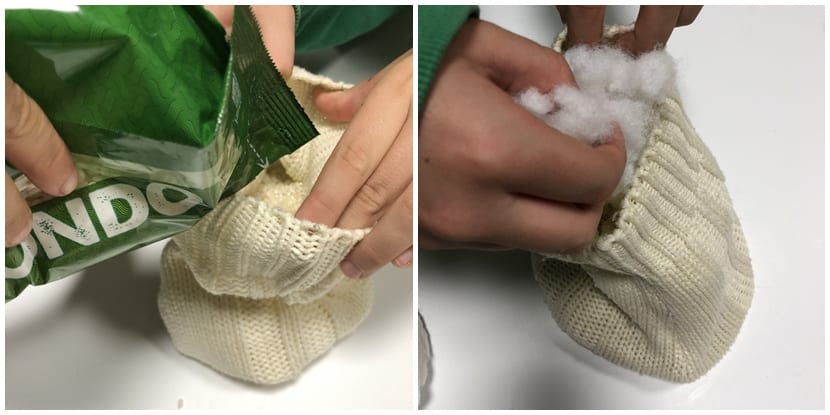
- You can turn it around nowNow introduce the rice. This will make it more consistent and hold the gnome better.
- Also add the filling or wadding almost to the top.
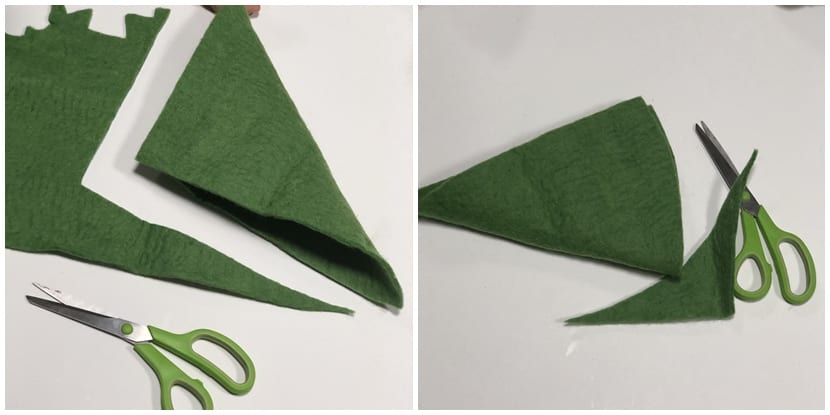
- Next prepare the hat for it fold the felt at an angle and cut a triangle, sized to fit the gnome's body.
- After finish off the triangle by cutting a curve on its shorter side, as you see in the image.

- It's time sew the longest side of the triangle and thus obtain the gnome's hat.
- With thread and ahuja make a christmas star giving a few stitches.
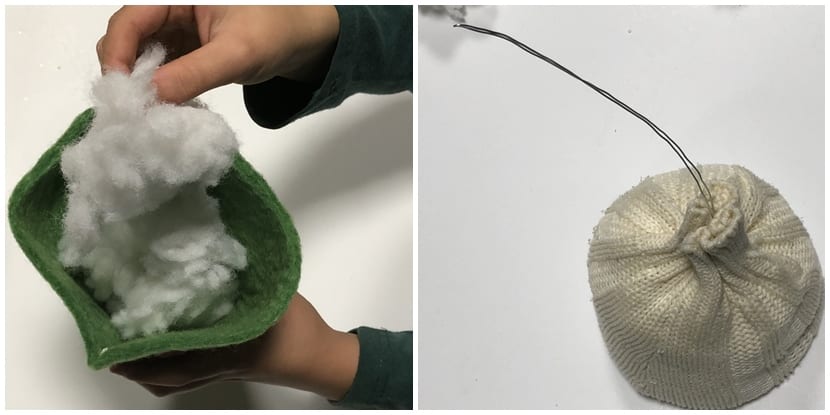
- Once you have the finished hat Fill with wadding and reserve.
- Introduce a piece of wire in the body and with silicone closes the body. This will help shape the hat.

- It's the moment to prepare the nose, To do this, make a round shape on the fabric, you can help yourself with a glass for this, mark and cut this rounded shape.
- Spend a thread stitch around in this way as seen in the image.
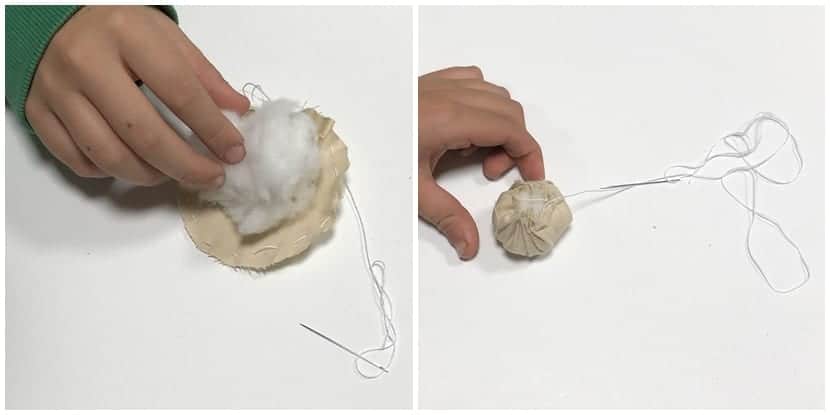
- Put some padding inside.
- Then stretch the thread and you will get a spherical shape that will act as a nose.
- At this point glue the beard to the body with silicone and present the hat to see where to locate the nose.
- Once you have taken a sample stick the nose.
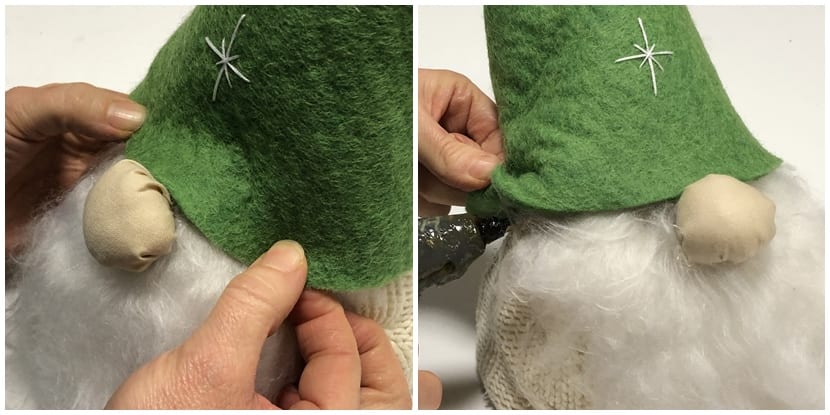
- Finish off the hat with a few points of glue so that it is well attached.
- Ends From behind.
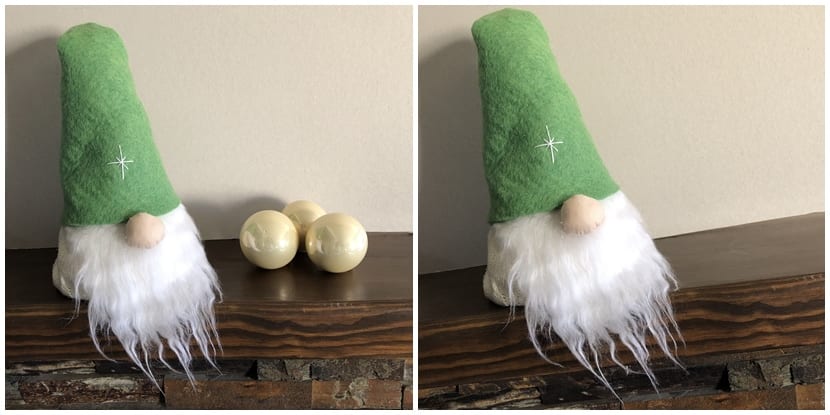
And you will have your gnome ready for Christmas! starting from an old sweater. If you want to see what I have done with the rest of the jersey, click on the image:
