
Children tend to accumulate large amounts of paints, markers, and pencils. That's a great thing because it means that they can develop their creativity with many materials. Most of the paintings usually end up in cases or boxes, but all children have some paints that they use more than others.
For those, for those who need to have more on hand, there is nothing better than making a pencil organizer pot like this so much fun that I bring today. Recycling materials that you already have at home, saving the ice cream sticks this summer or acquiring them for a very cheap price in any bazaar. The important thing is that the children have fun and if they also get a organizer for your deskMuch better.
Desk Pencil Organizer
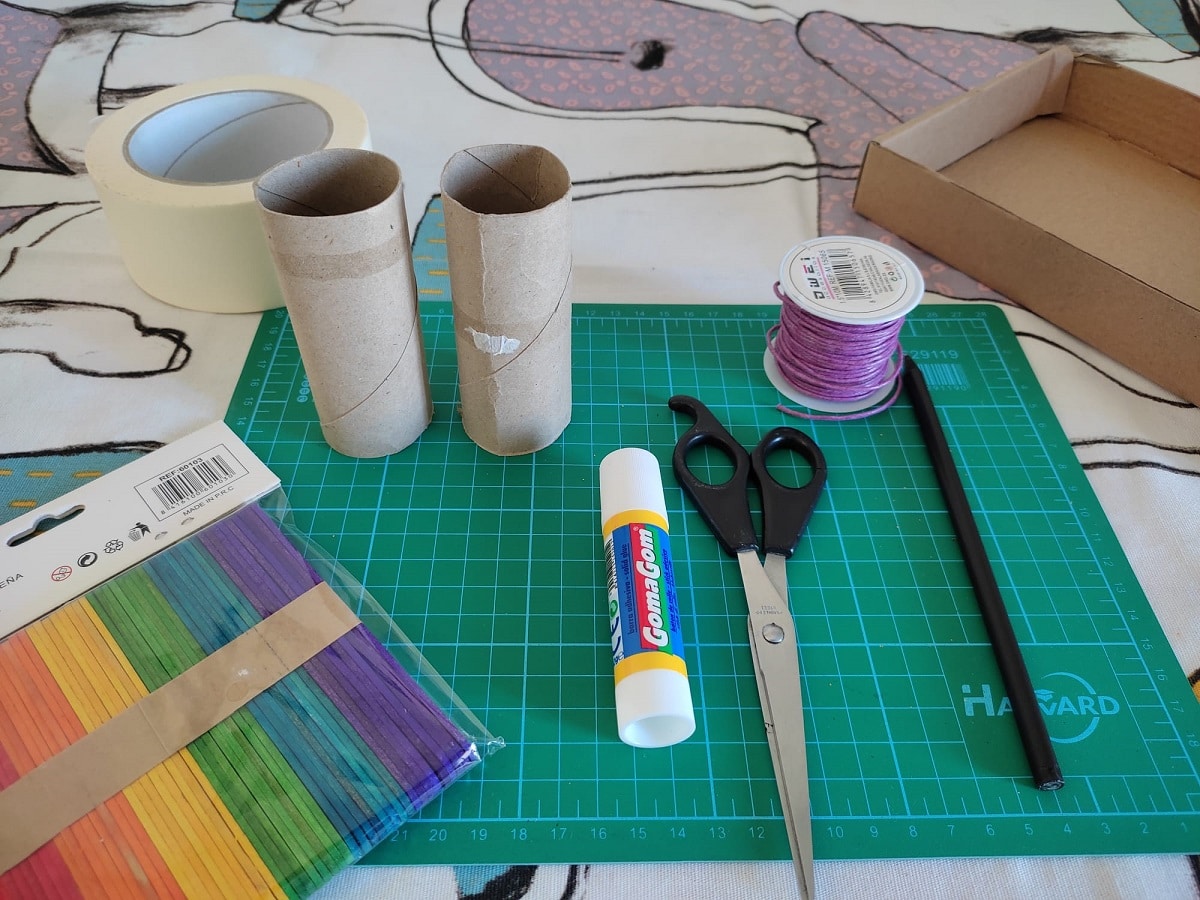
The first of all is to get hold of some materials, very simple like the following:
- 2 cardboard rolls of toilet paper
- Ice cream sticks of colors
- Tape double clear
- Cardboard
- Scissors
- Pencil
- Una tape
Step by step
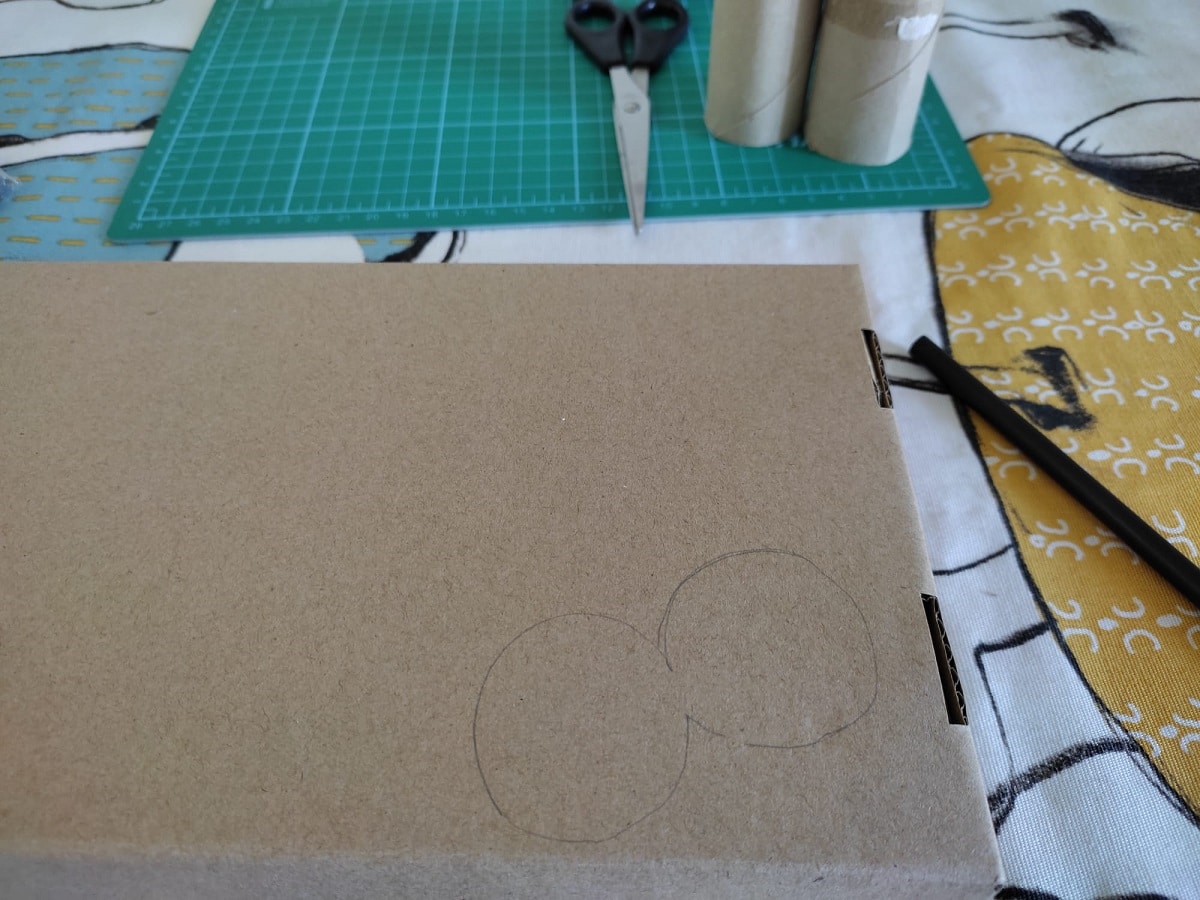
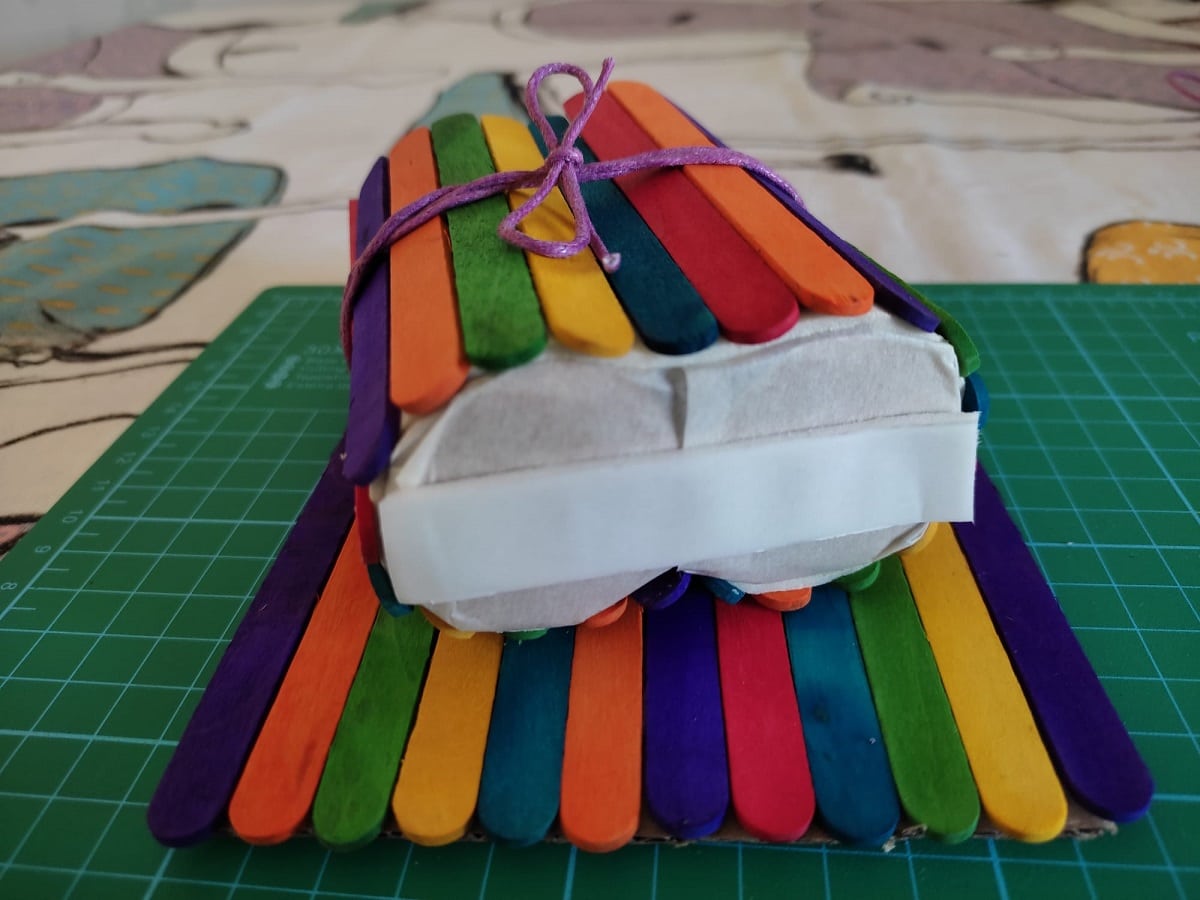
First we are going to join the two rolls of toilet paper. To do this, we can use masking tape or some sheets that we will glue with stick adhesive.

Once we have the rolls attached, we will create a base with cardboard. We place the rolls and with a pencil we draw the base. Cut with scissors and place on the base with masking tape, securing it well to make it resistant.
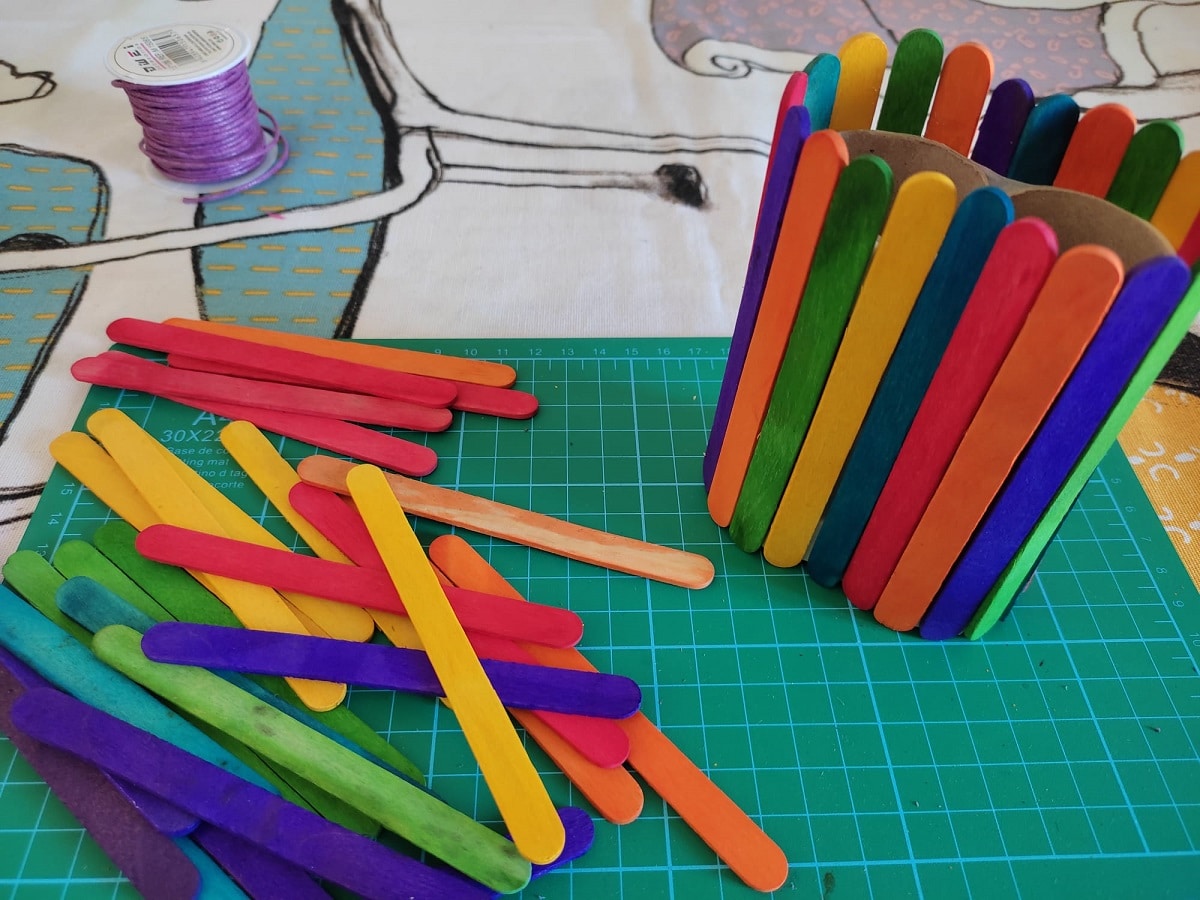
Now we are going to place two strips of double-sided tape, one on the bottom and one on the top. We remove the protective paper and begin stick the popsicle sticks all over the surface. It is important that all the sticks are at the same height.

We place the sticks all over the surface, it should be as follows.
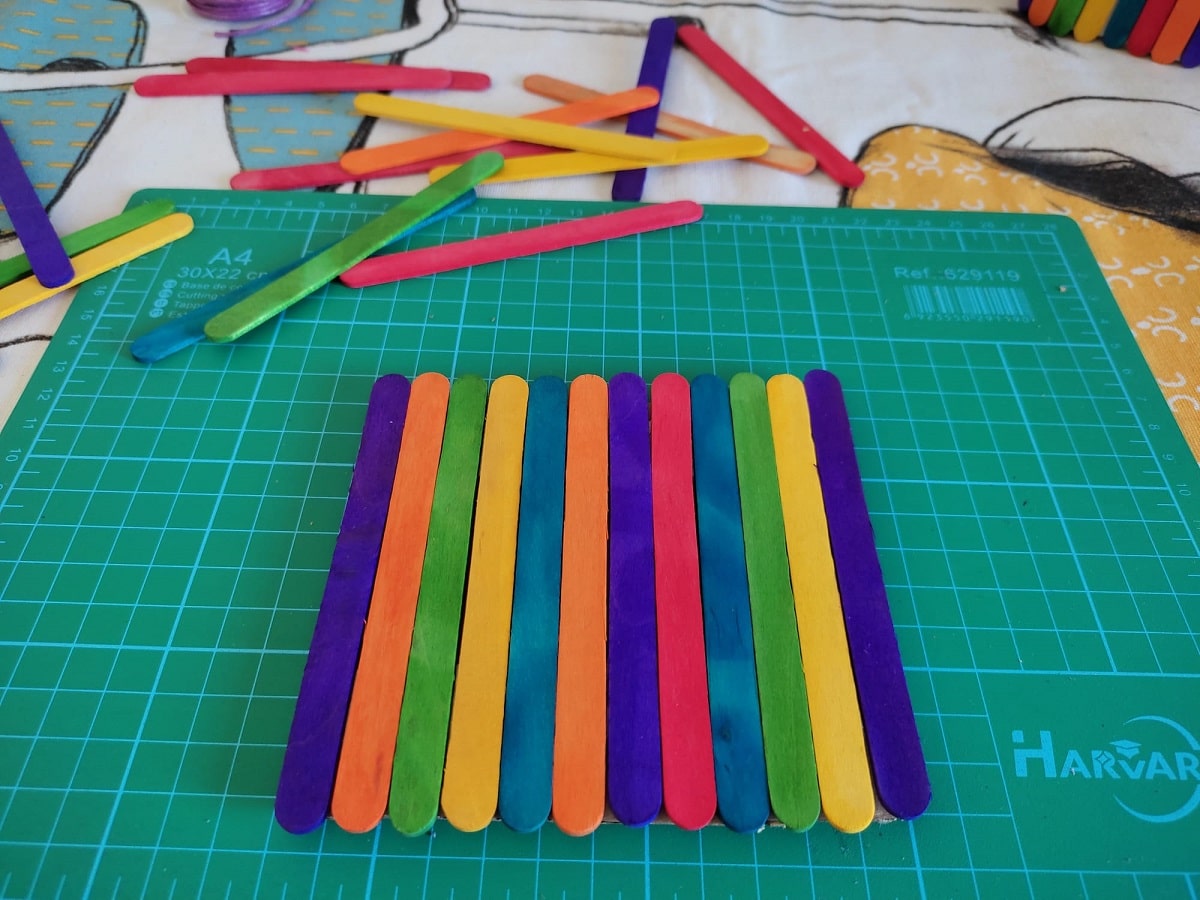
To finish, we are going to create a square base. We draw a square on the cardboard about 10 by 10 centimeters.
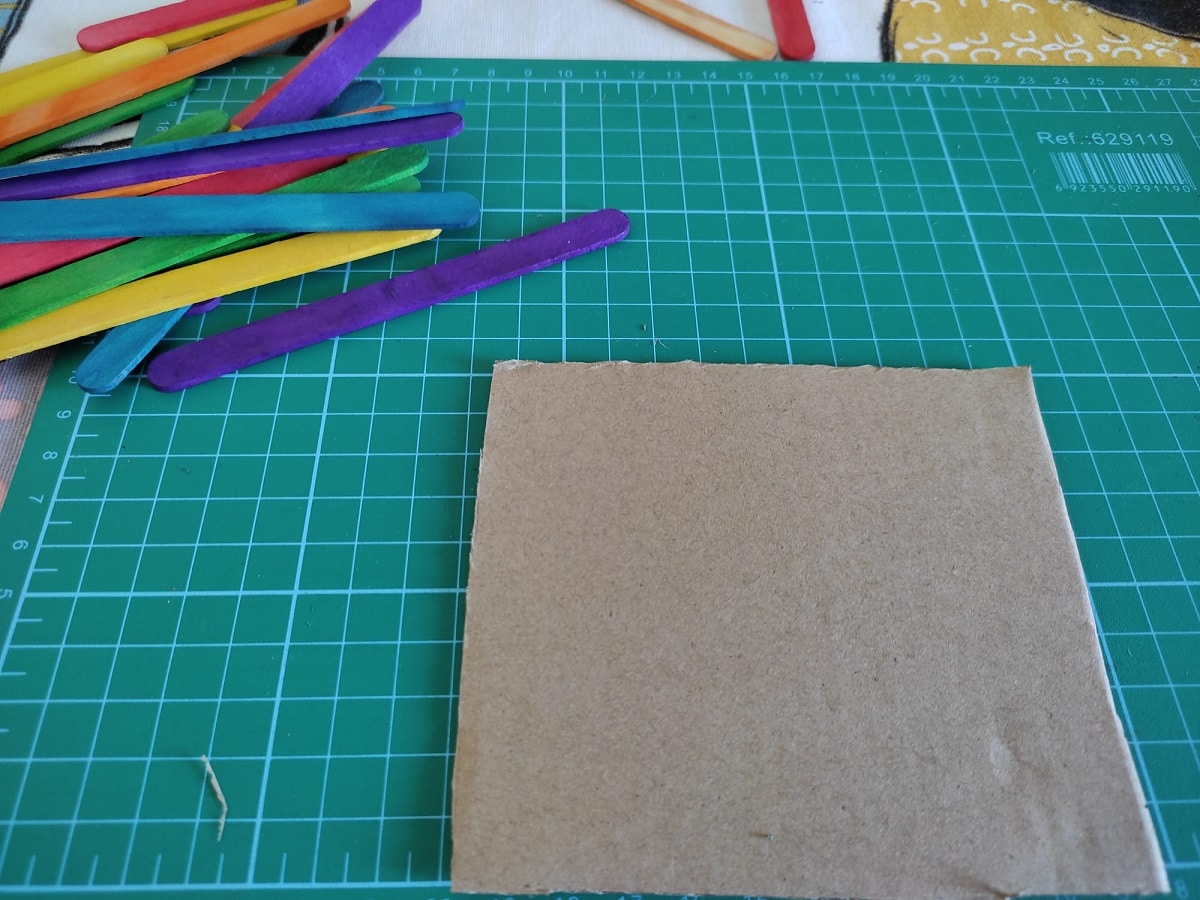
We cut and put two strips of tape double-sided adhesive.

Now we just have to stick the ice cream sticks, trying that are placed at the same height.
To finish, we just have to place a piece of double-sided tape over the base of cardboard rolls. We remove the protective paper and glue on the base.
And that's it, we have a nice and practical organizer bottle of pencils for the children's desk.
